
 Facebook
 X
X
 Pinterest
 Copy Link
Trying Something New
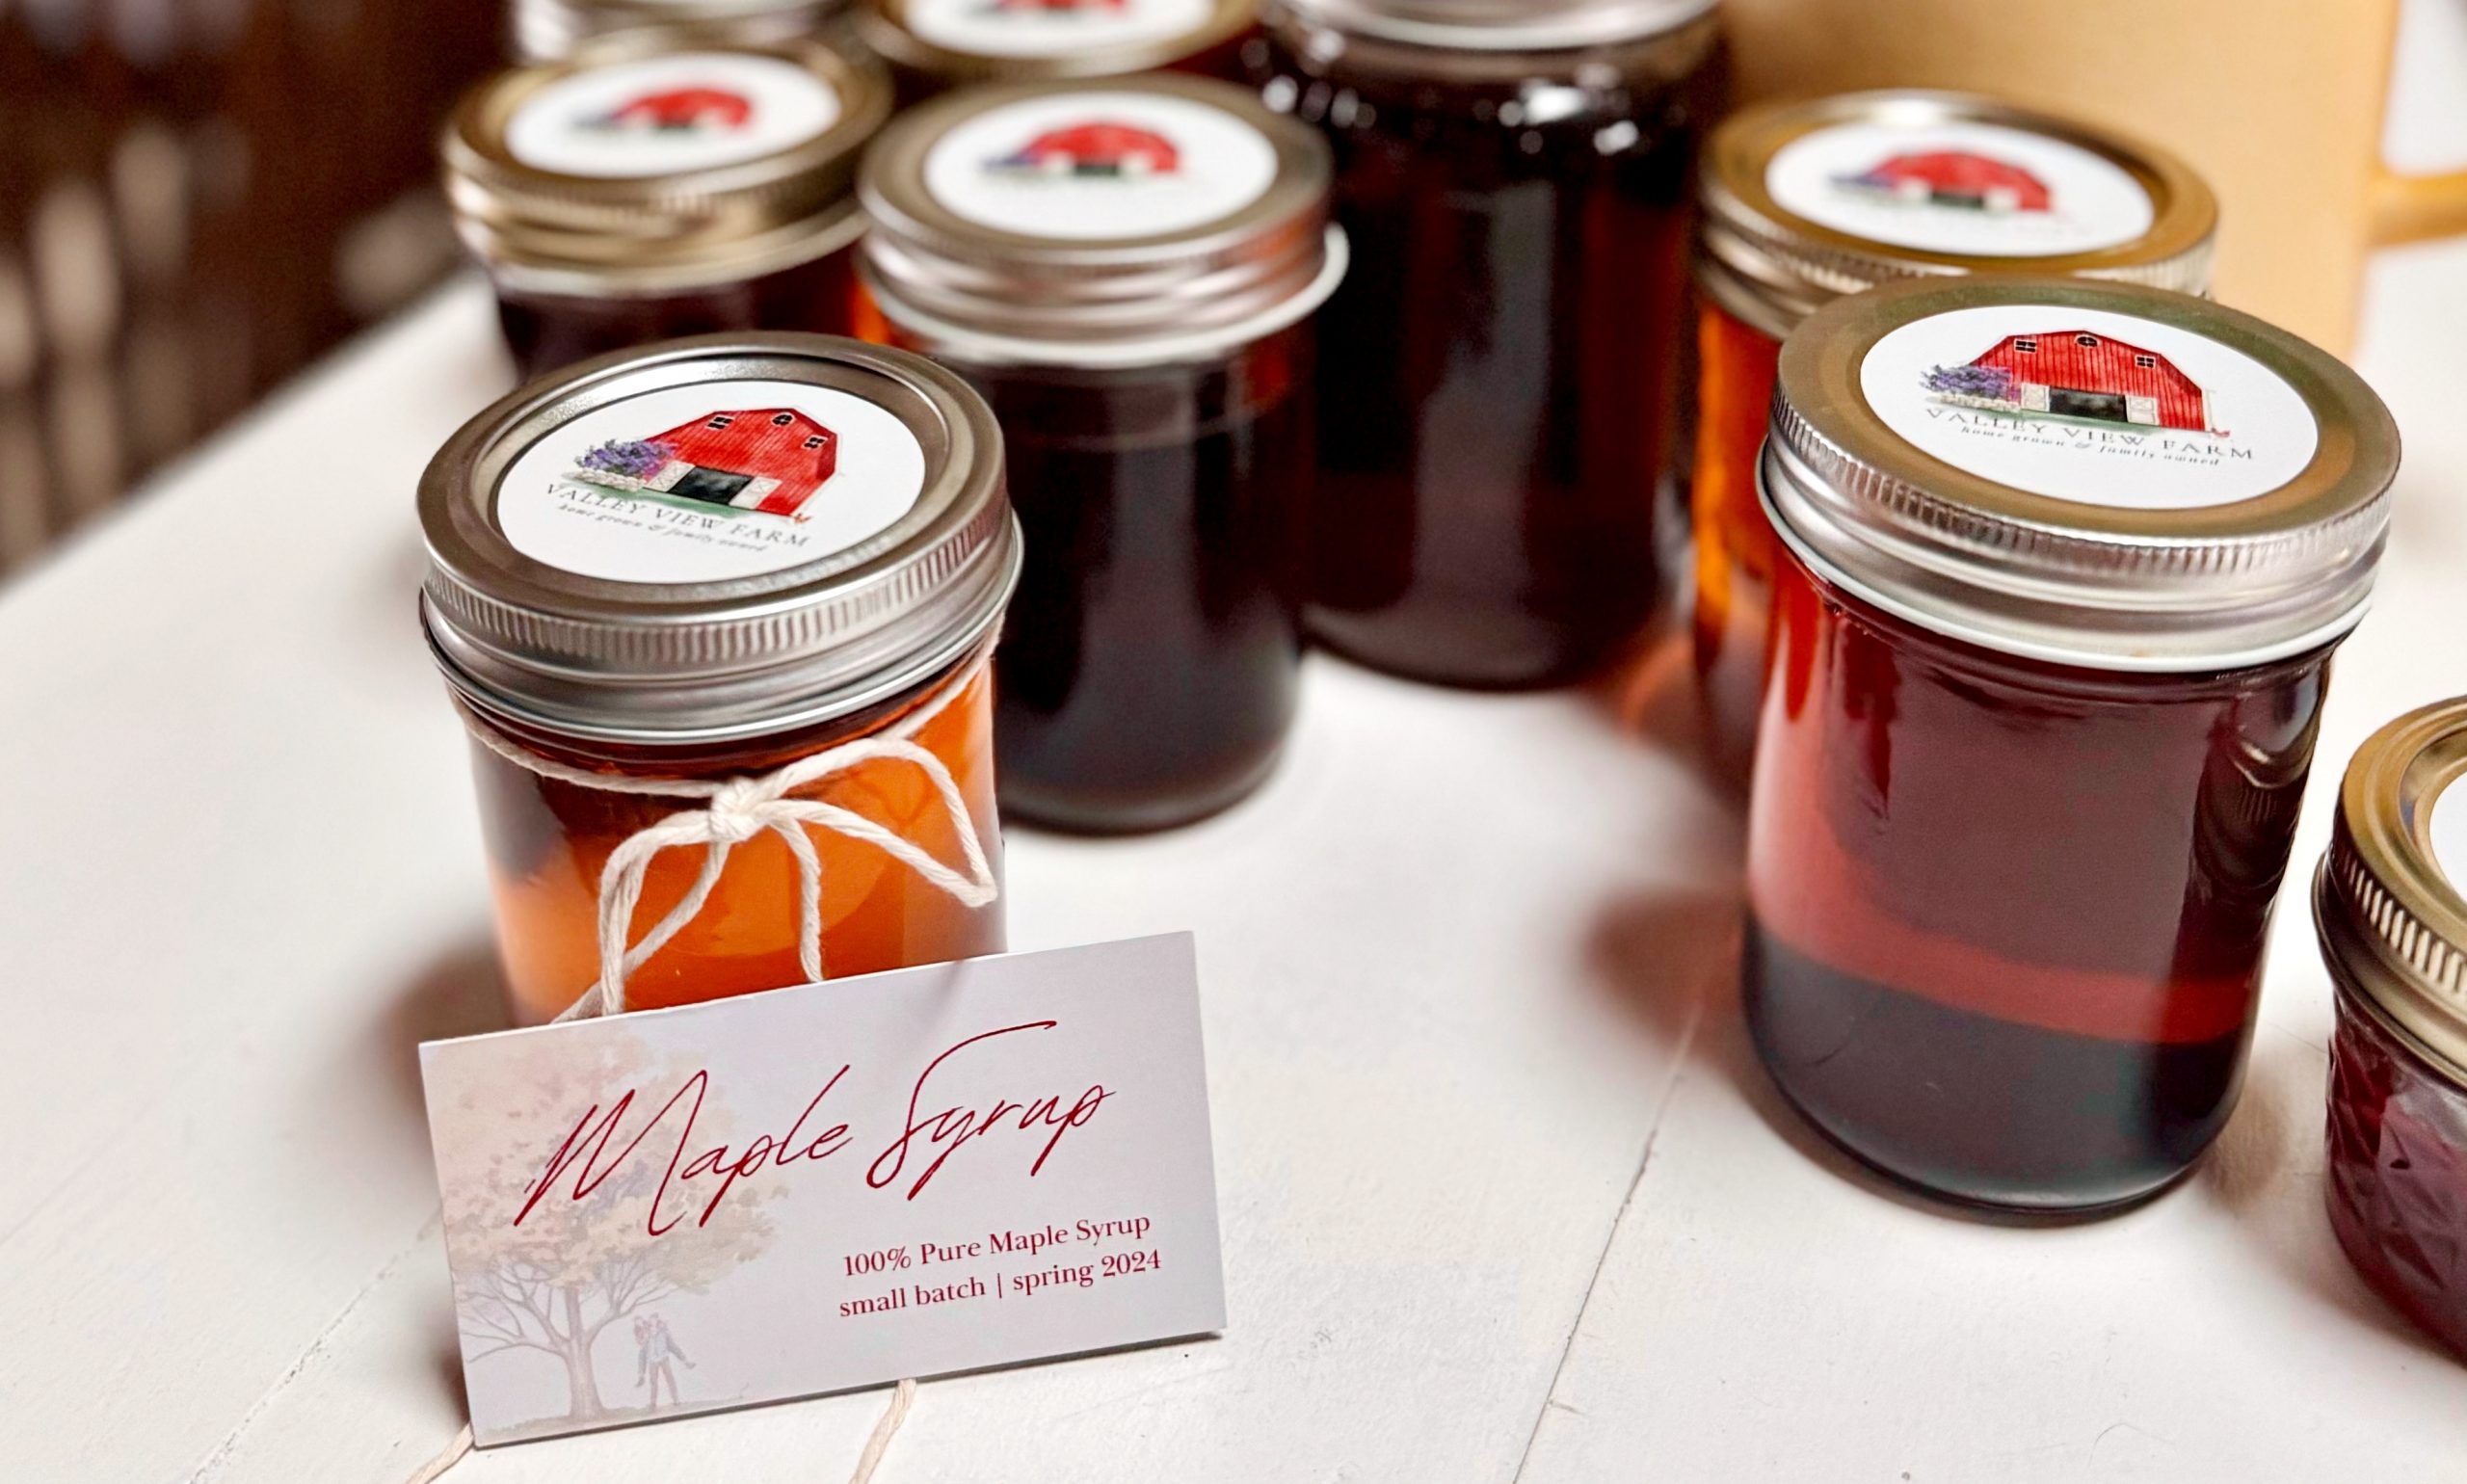
This year my husband and I decided to try our hand at making maple syrup. We had never tried this before but thought it would be a nice way to pass the time during the last of the winter months here in Maine. It gave us a chance to get outside and try something new! While the process has been complex and a lot of work we have enjoyed it. We are excited to add more buckets and taps next year and make even more syrup.
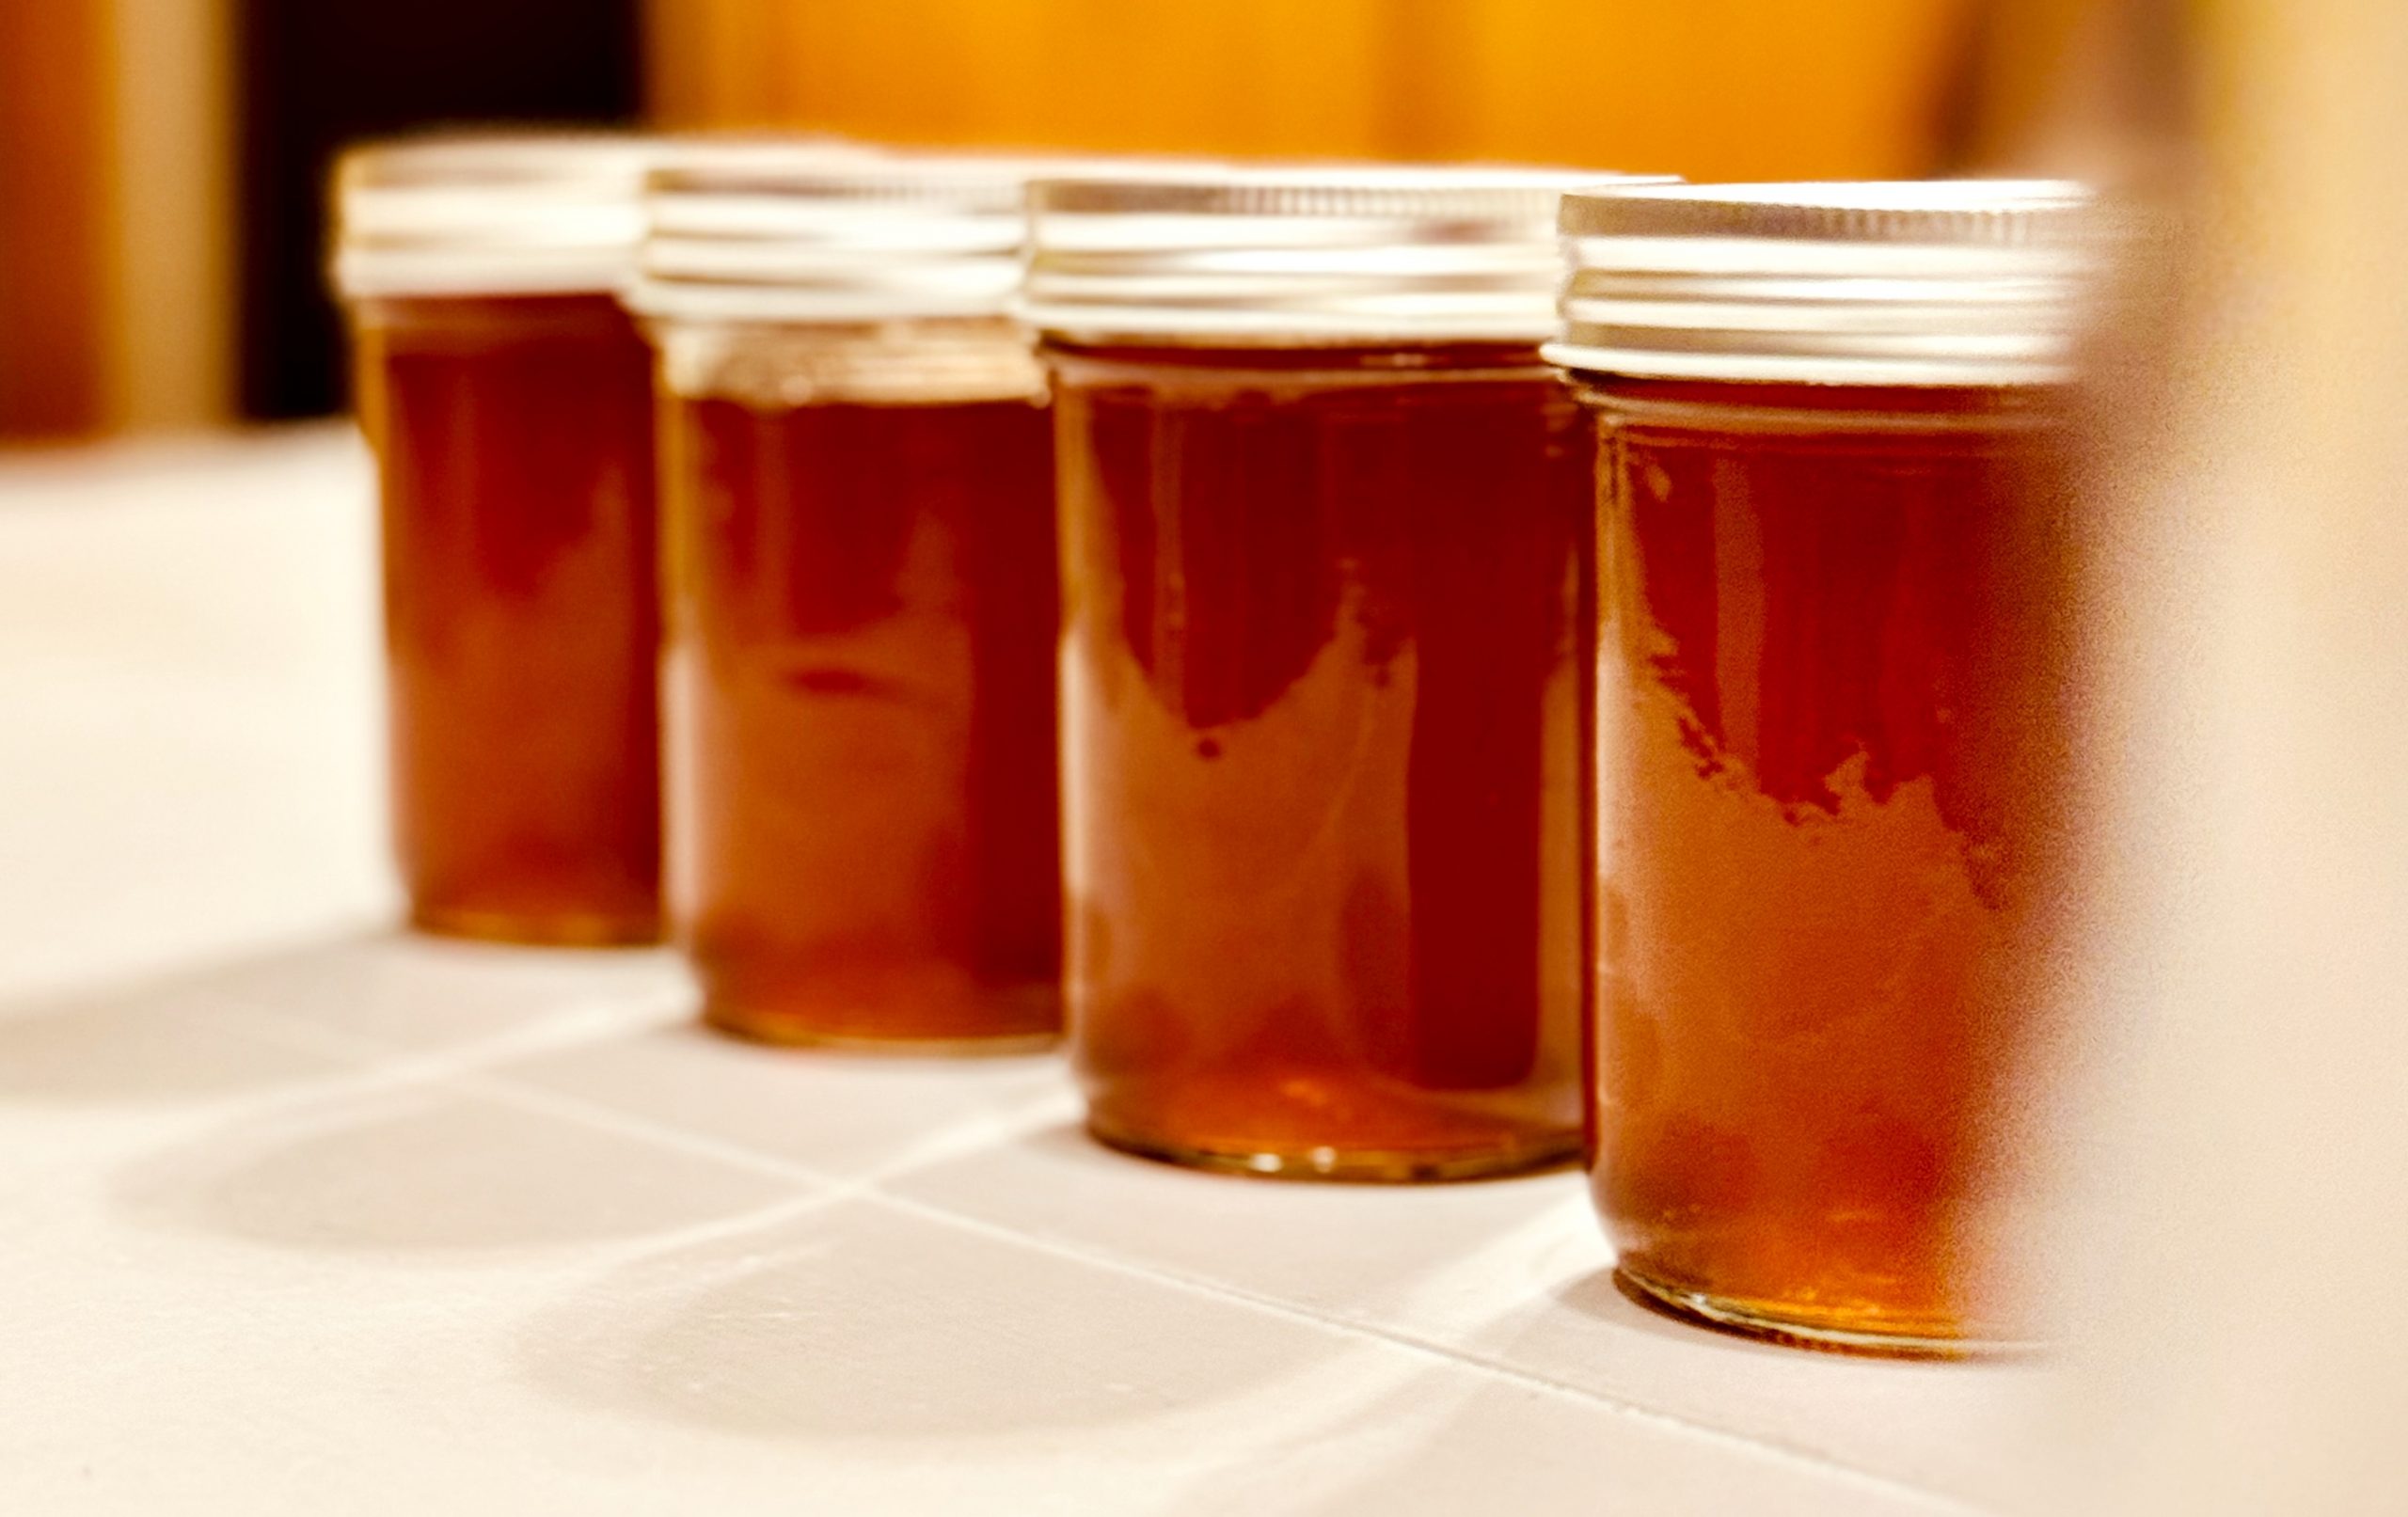
(Some of our finished syrup.)
Prepping For The Season
One of our first steps was identifying the maple trees. I am clueless when it comes to this but my husband identified them easily. We didn’t decide to try making maple syrup this year until the leaves had already fallen off the trees, which made it a little more tricky. I would recommend looking for and marking the maples that you want to tap in the fall. We had plenty of maple trees and had more trees than we had taps for. We plan to add more next year, but this year we had enough equipment for 40 taps.
Once we had marked the trees we wanted to tap, and the weather was right for the season to start, it was time to prep the equipment. We sanitized the taps and cleaned the buckets and lids before heading out to the woods to get them all in place.
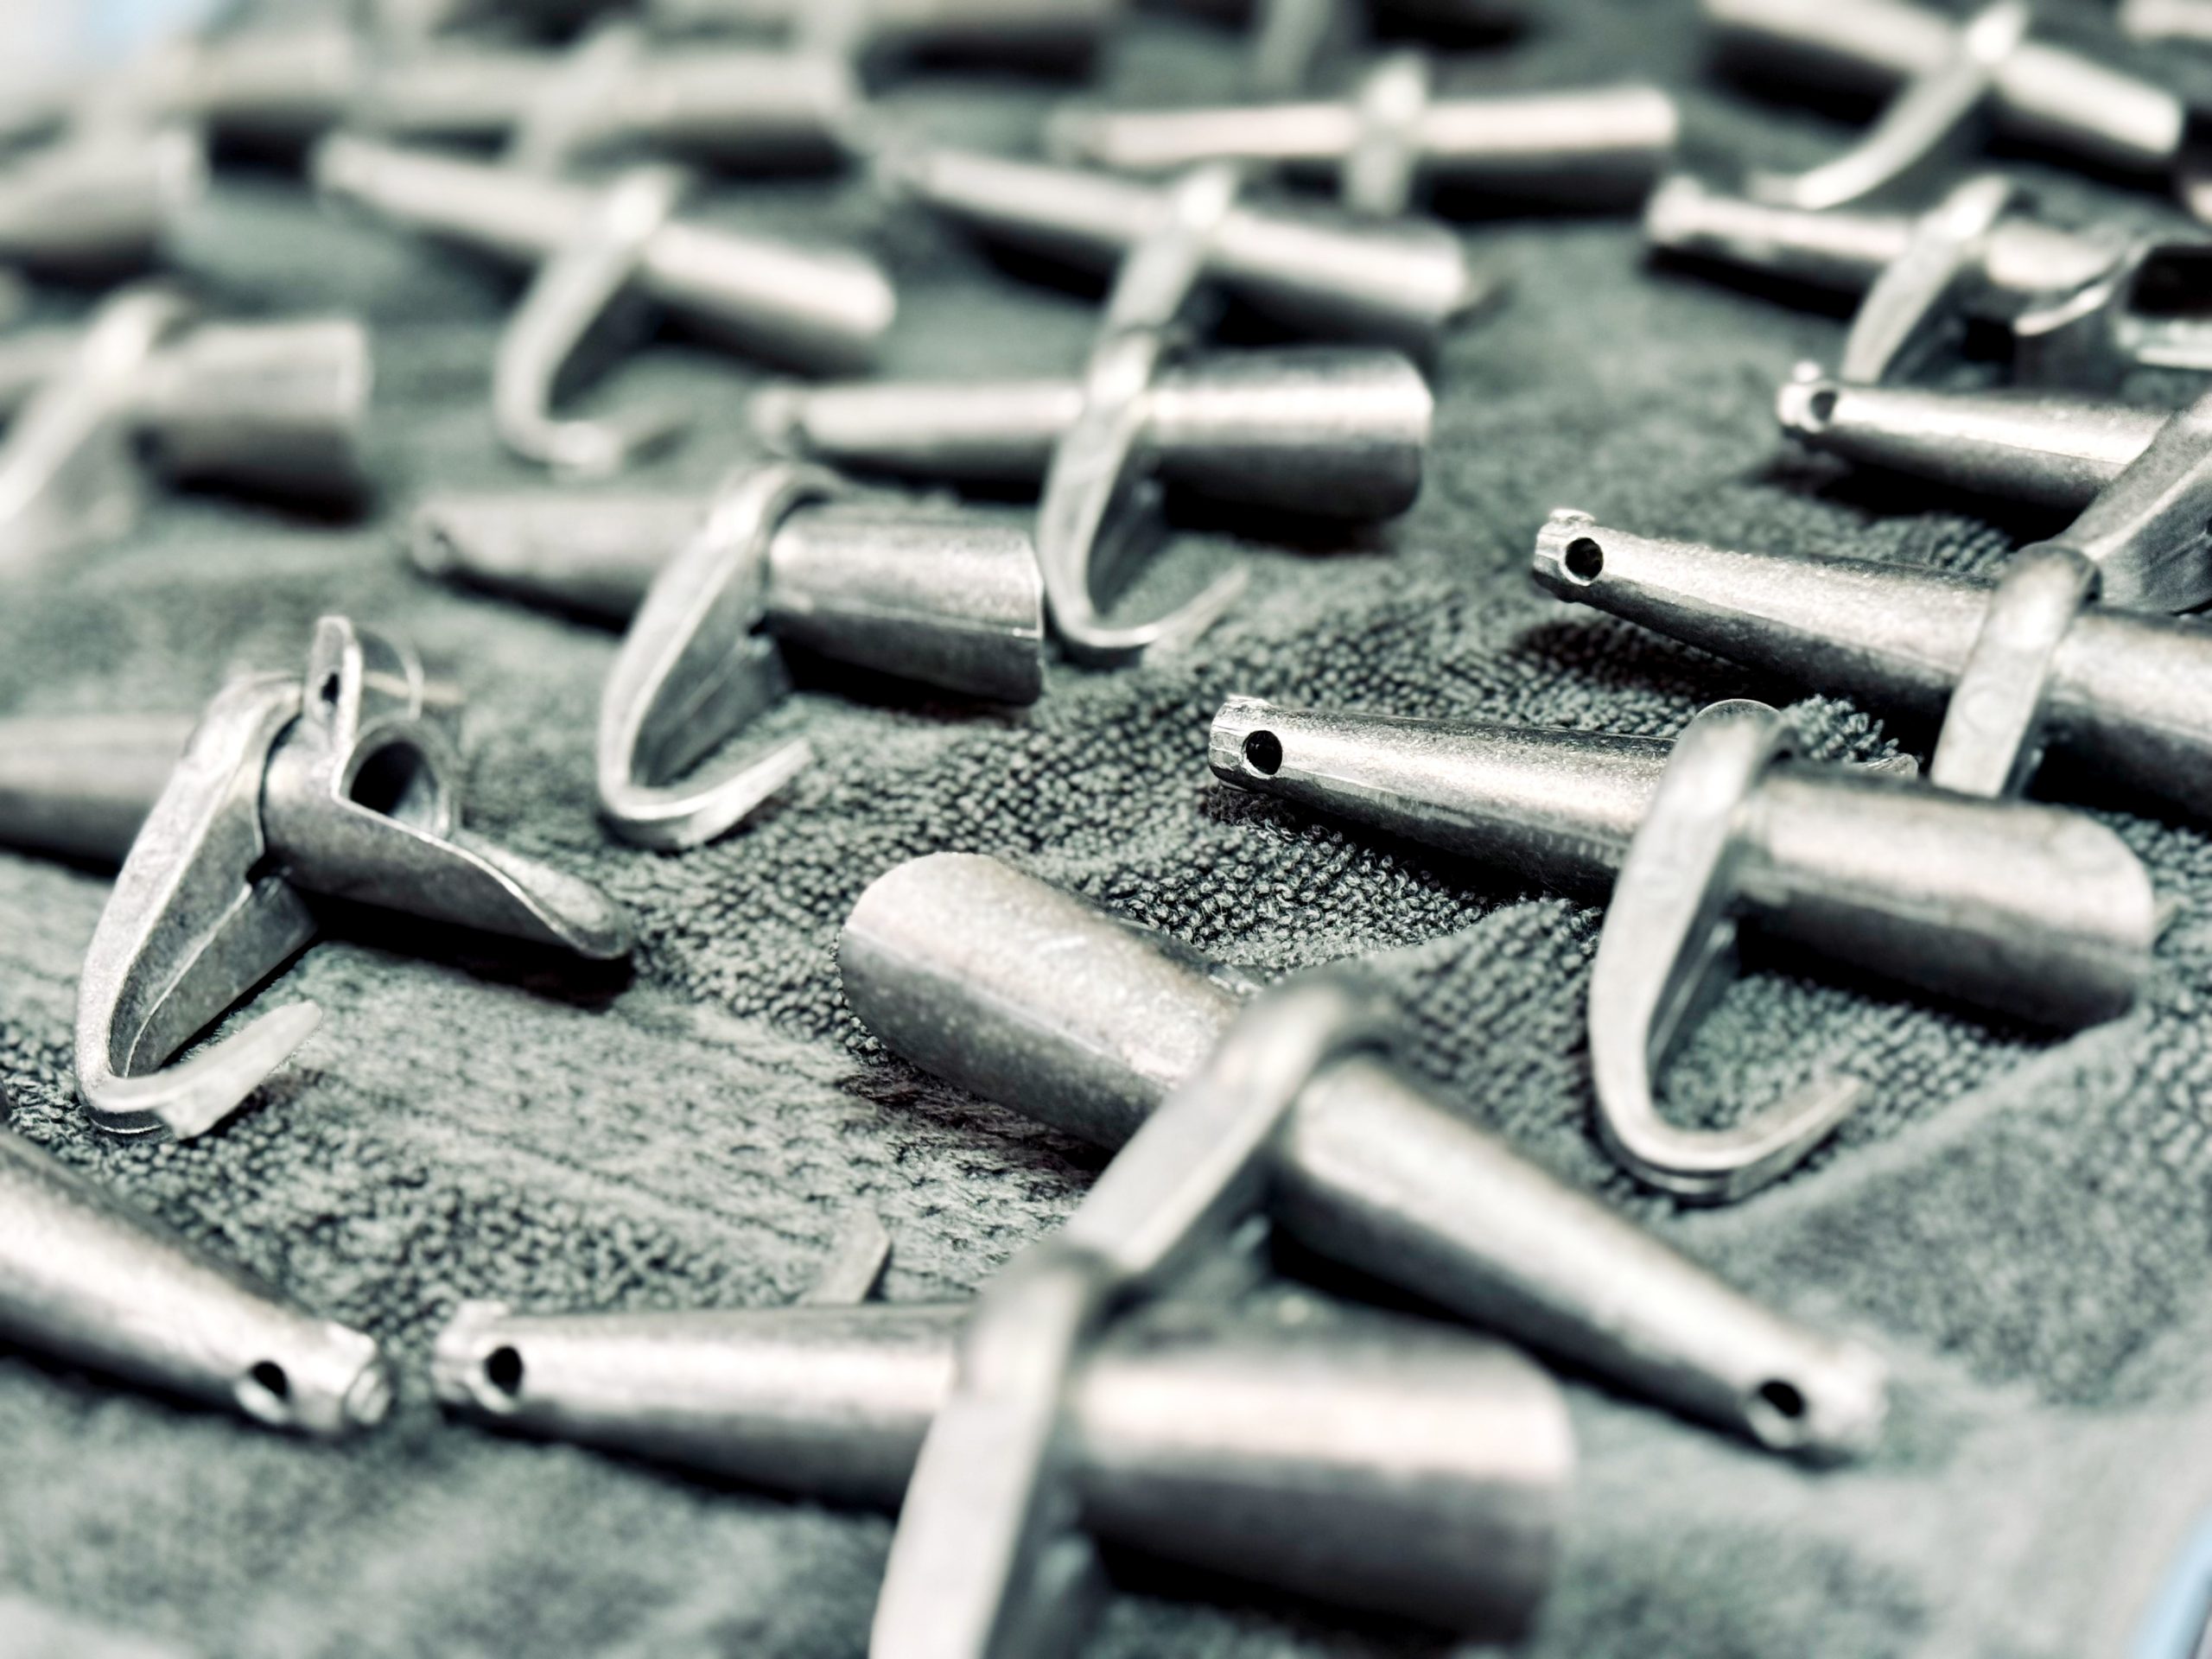
(Clean taps)
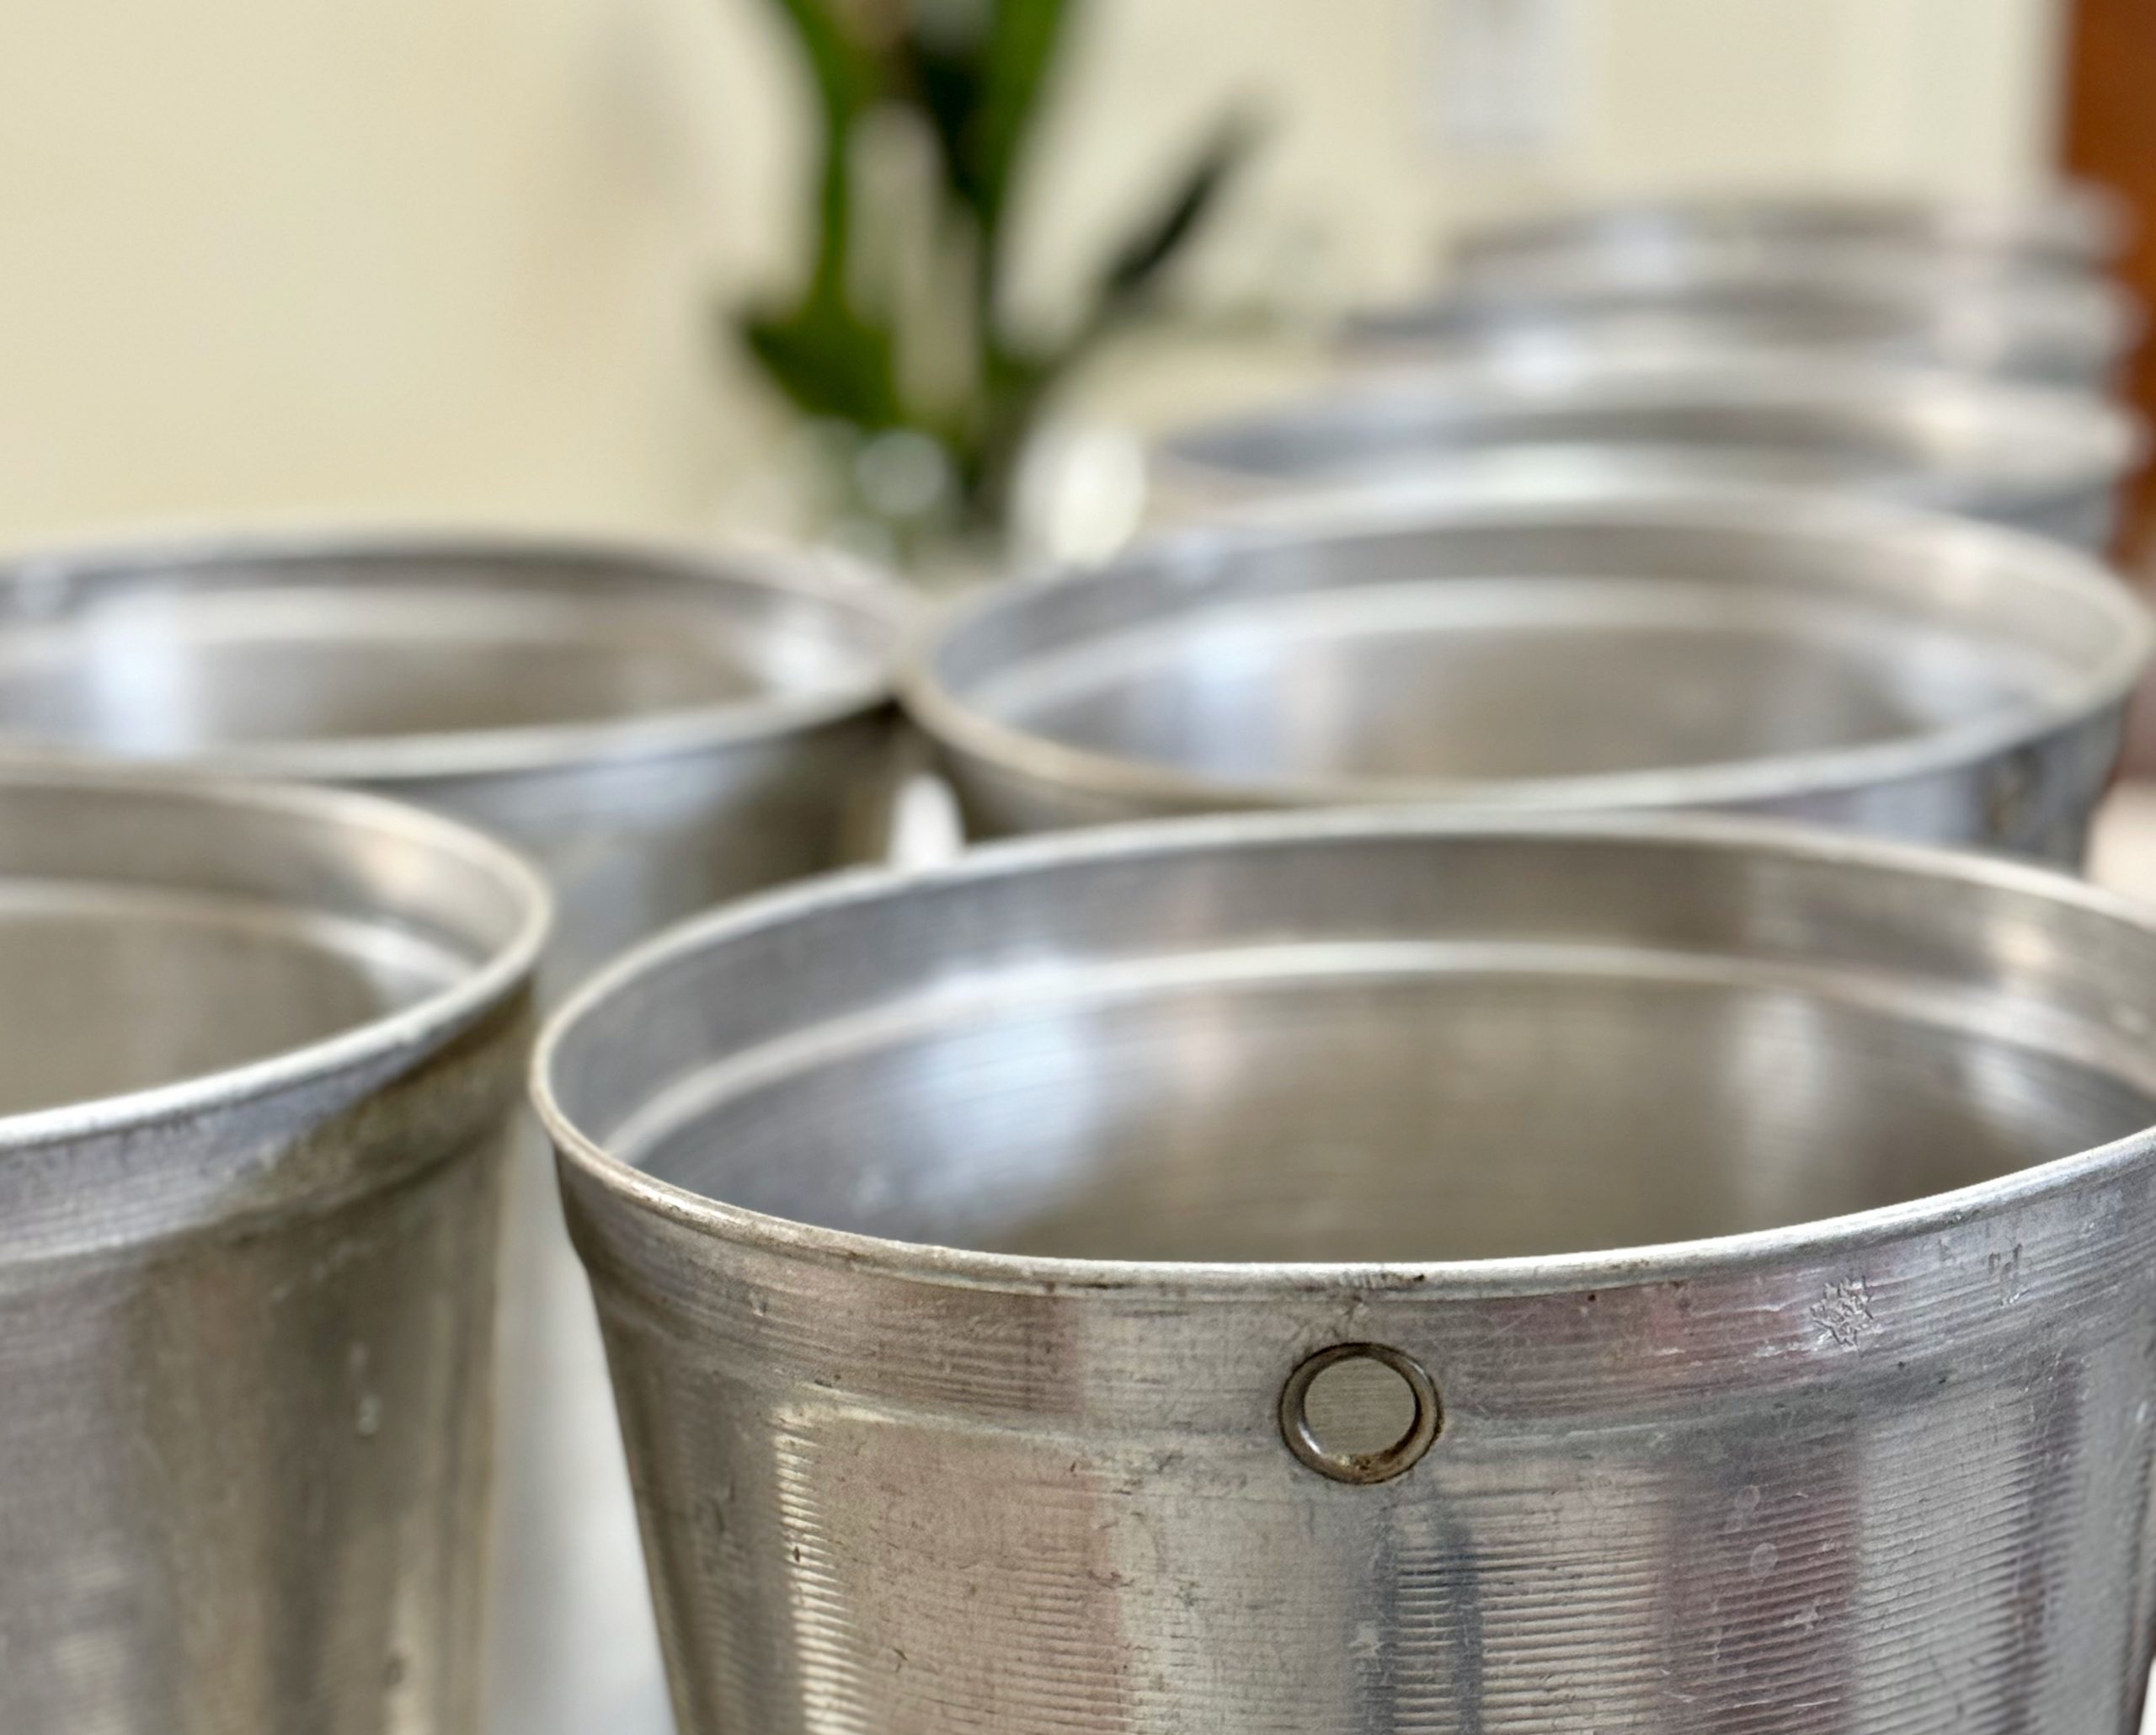
(Clean buckets)
Tapping The Trees
Sap runs best on a warmer day after a freeze the night before, so tapping on a day like this is ideal at the beginning of the season. Night lows in the teens and daytime temps in the high 30s or 40s are ideal. If you tap too early the trees can heal before the sap starts running, so timing can be important. Since we didn’t really know what we were doing we decided not to tap all the trees at once so that if we picked a bad day or tapped too early, we would have more taps to try on another day.
With a drill bit that matched the size of our taps we drilled a small hole in the tree and then gently tapped in the taps.
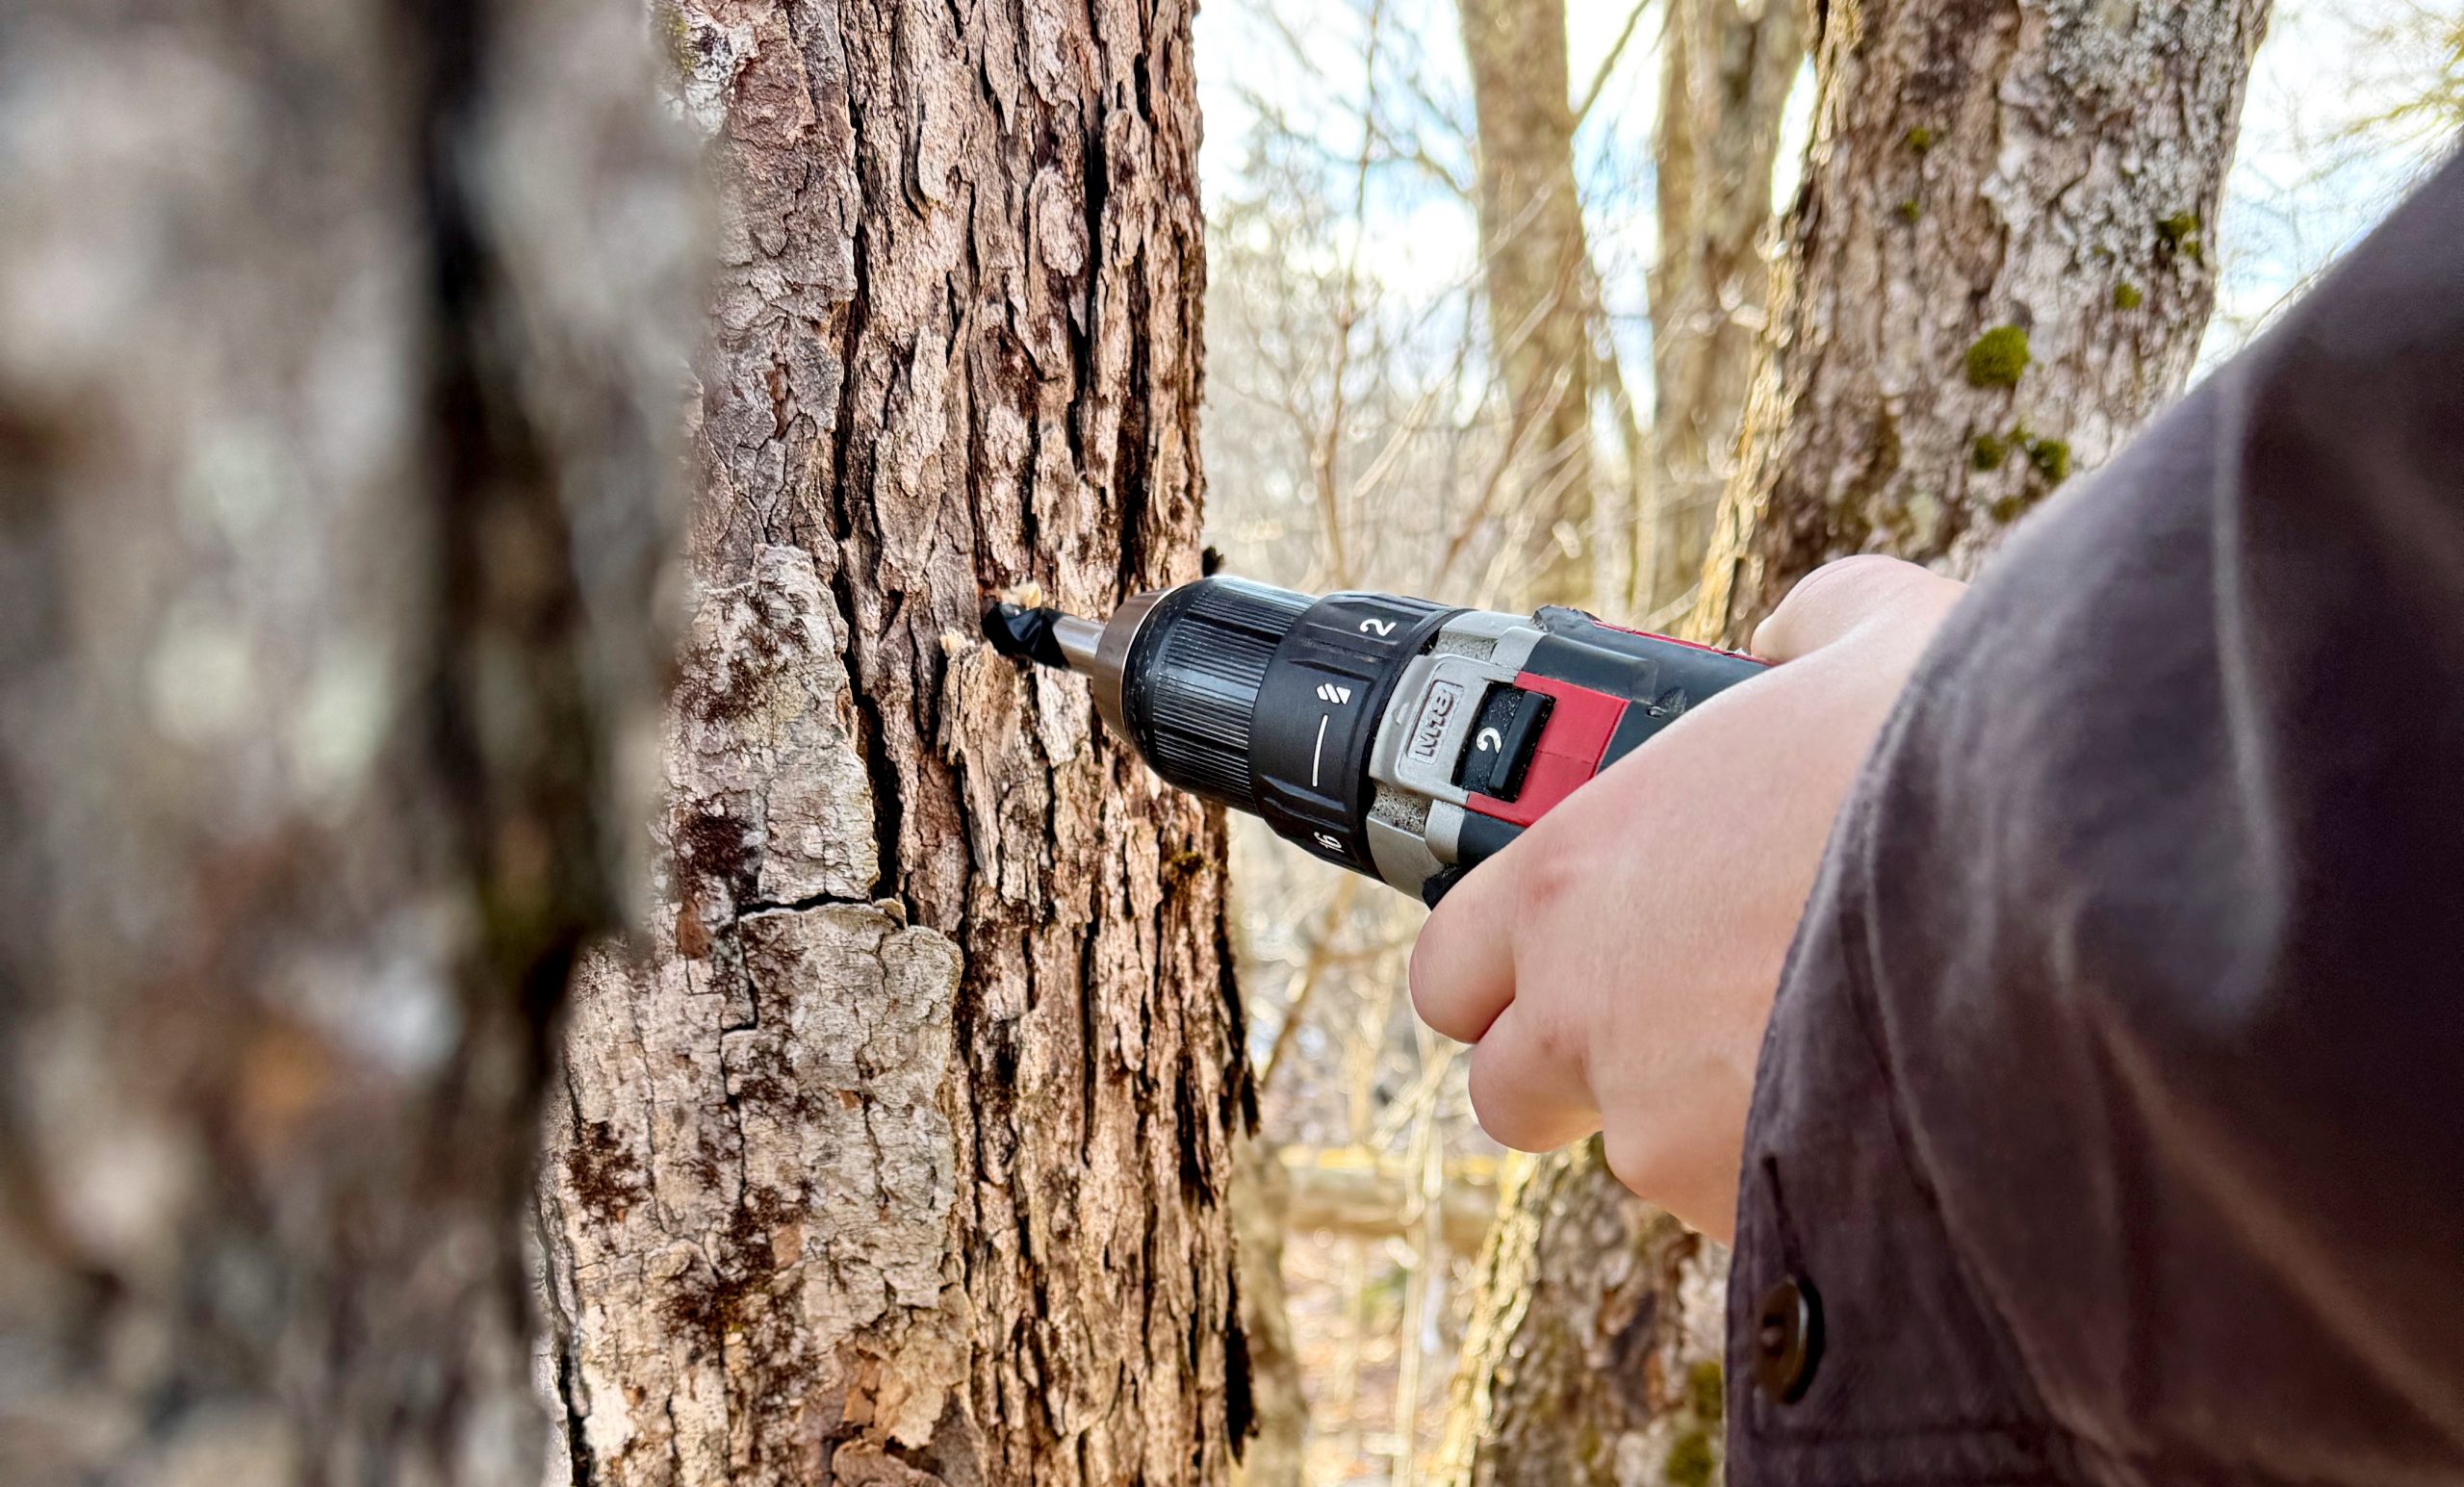
(Drilling the holes)
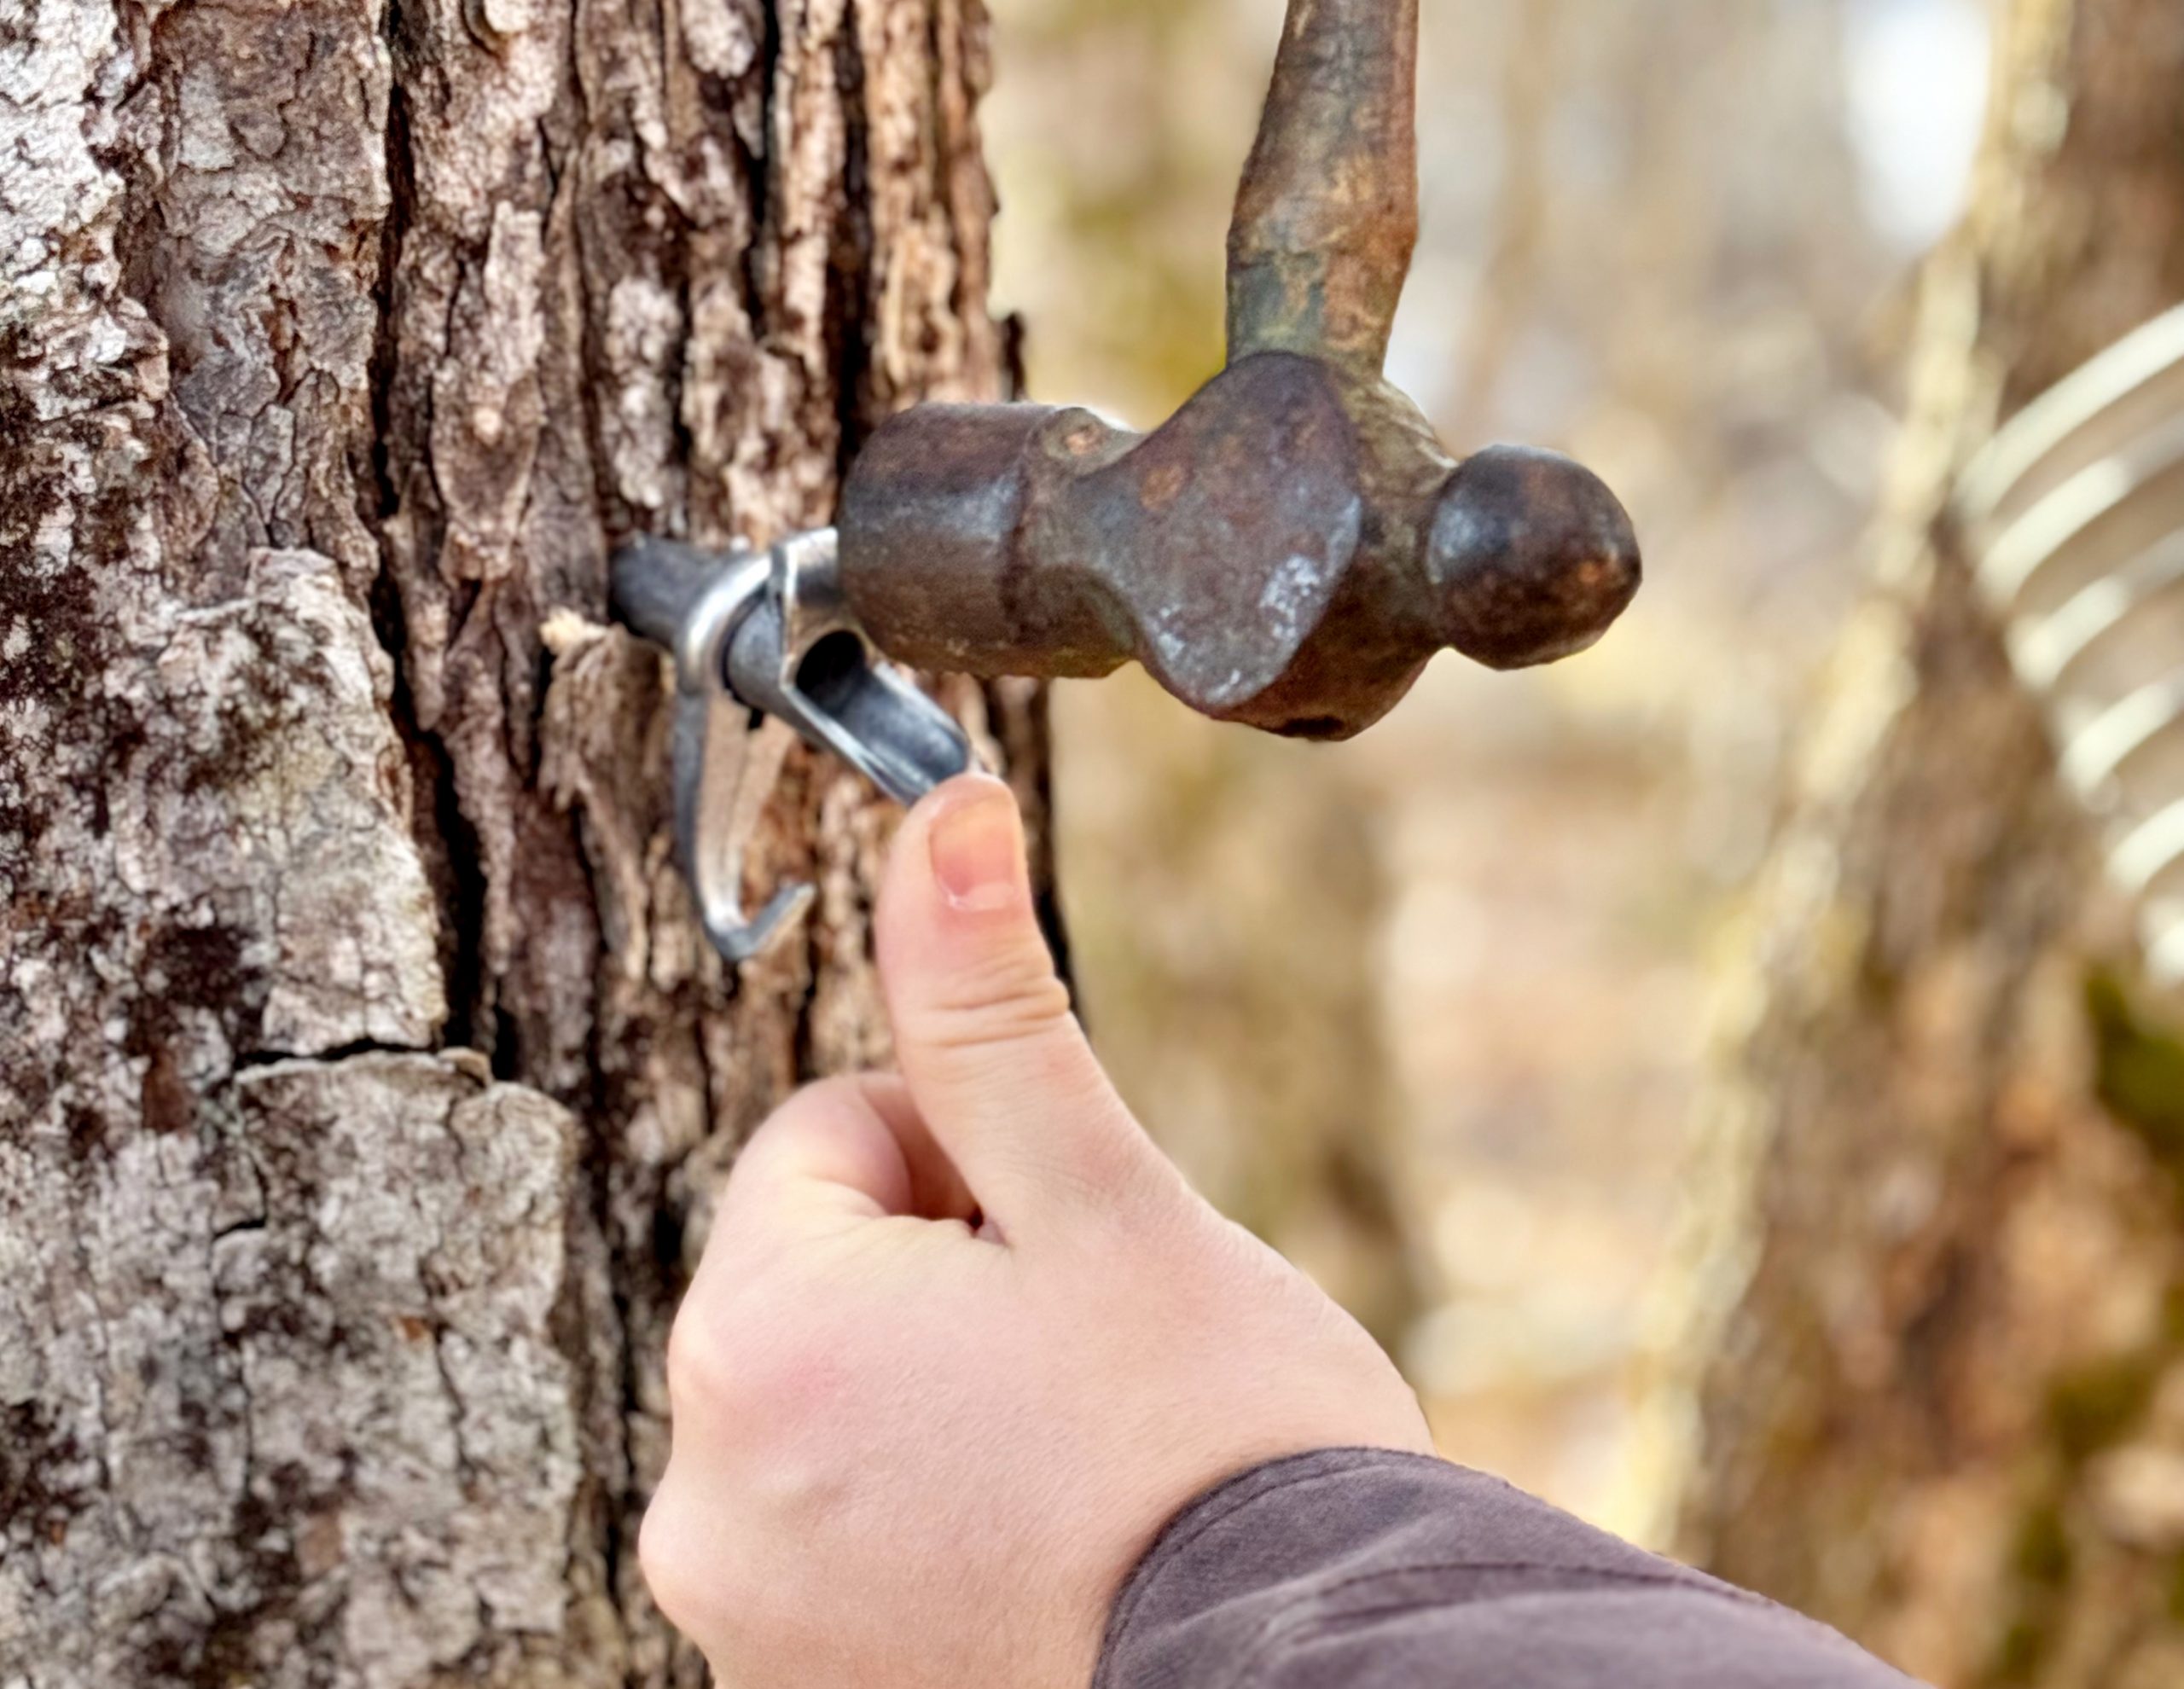
(Hammering in the taps)
Next we hung the buckets and added the covers. The taps that we used have a hook for the bucket to hang on and hole to hook the cover on. Once the taps and buckets are in place, you wait for the buckets to full up with the sap. The sap comes out of the trees as a clear liquid that looks like water but smells and tastes slightly sweet. It takes about 40 gallons of sap to make 1 gallon of maple syrup, so the collection process can be tedious. All of our taps are on a hill so collecting was a lot of work hauling full buckets up the hill but exciting all the same. We tried to check them about once a day.
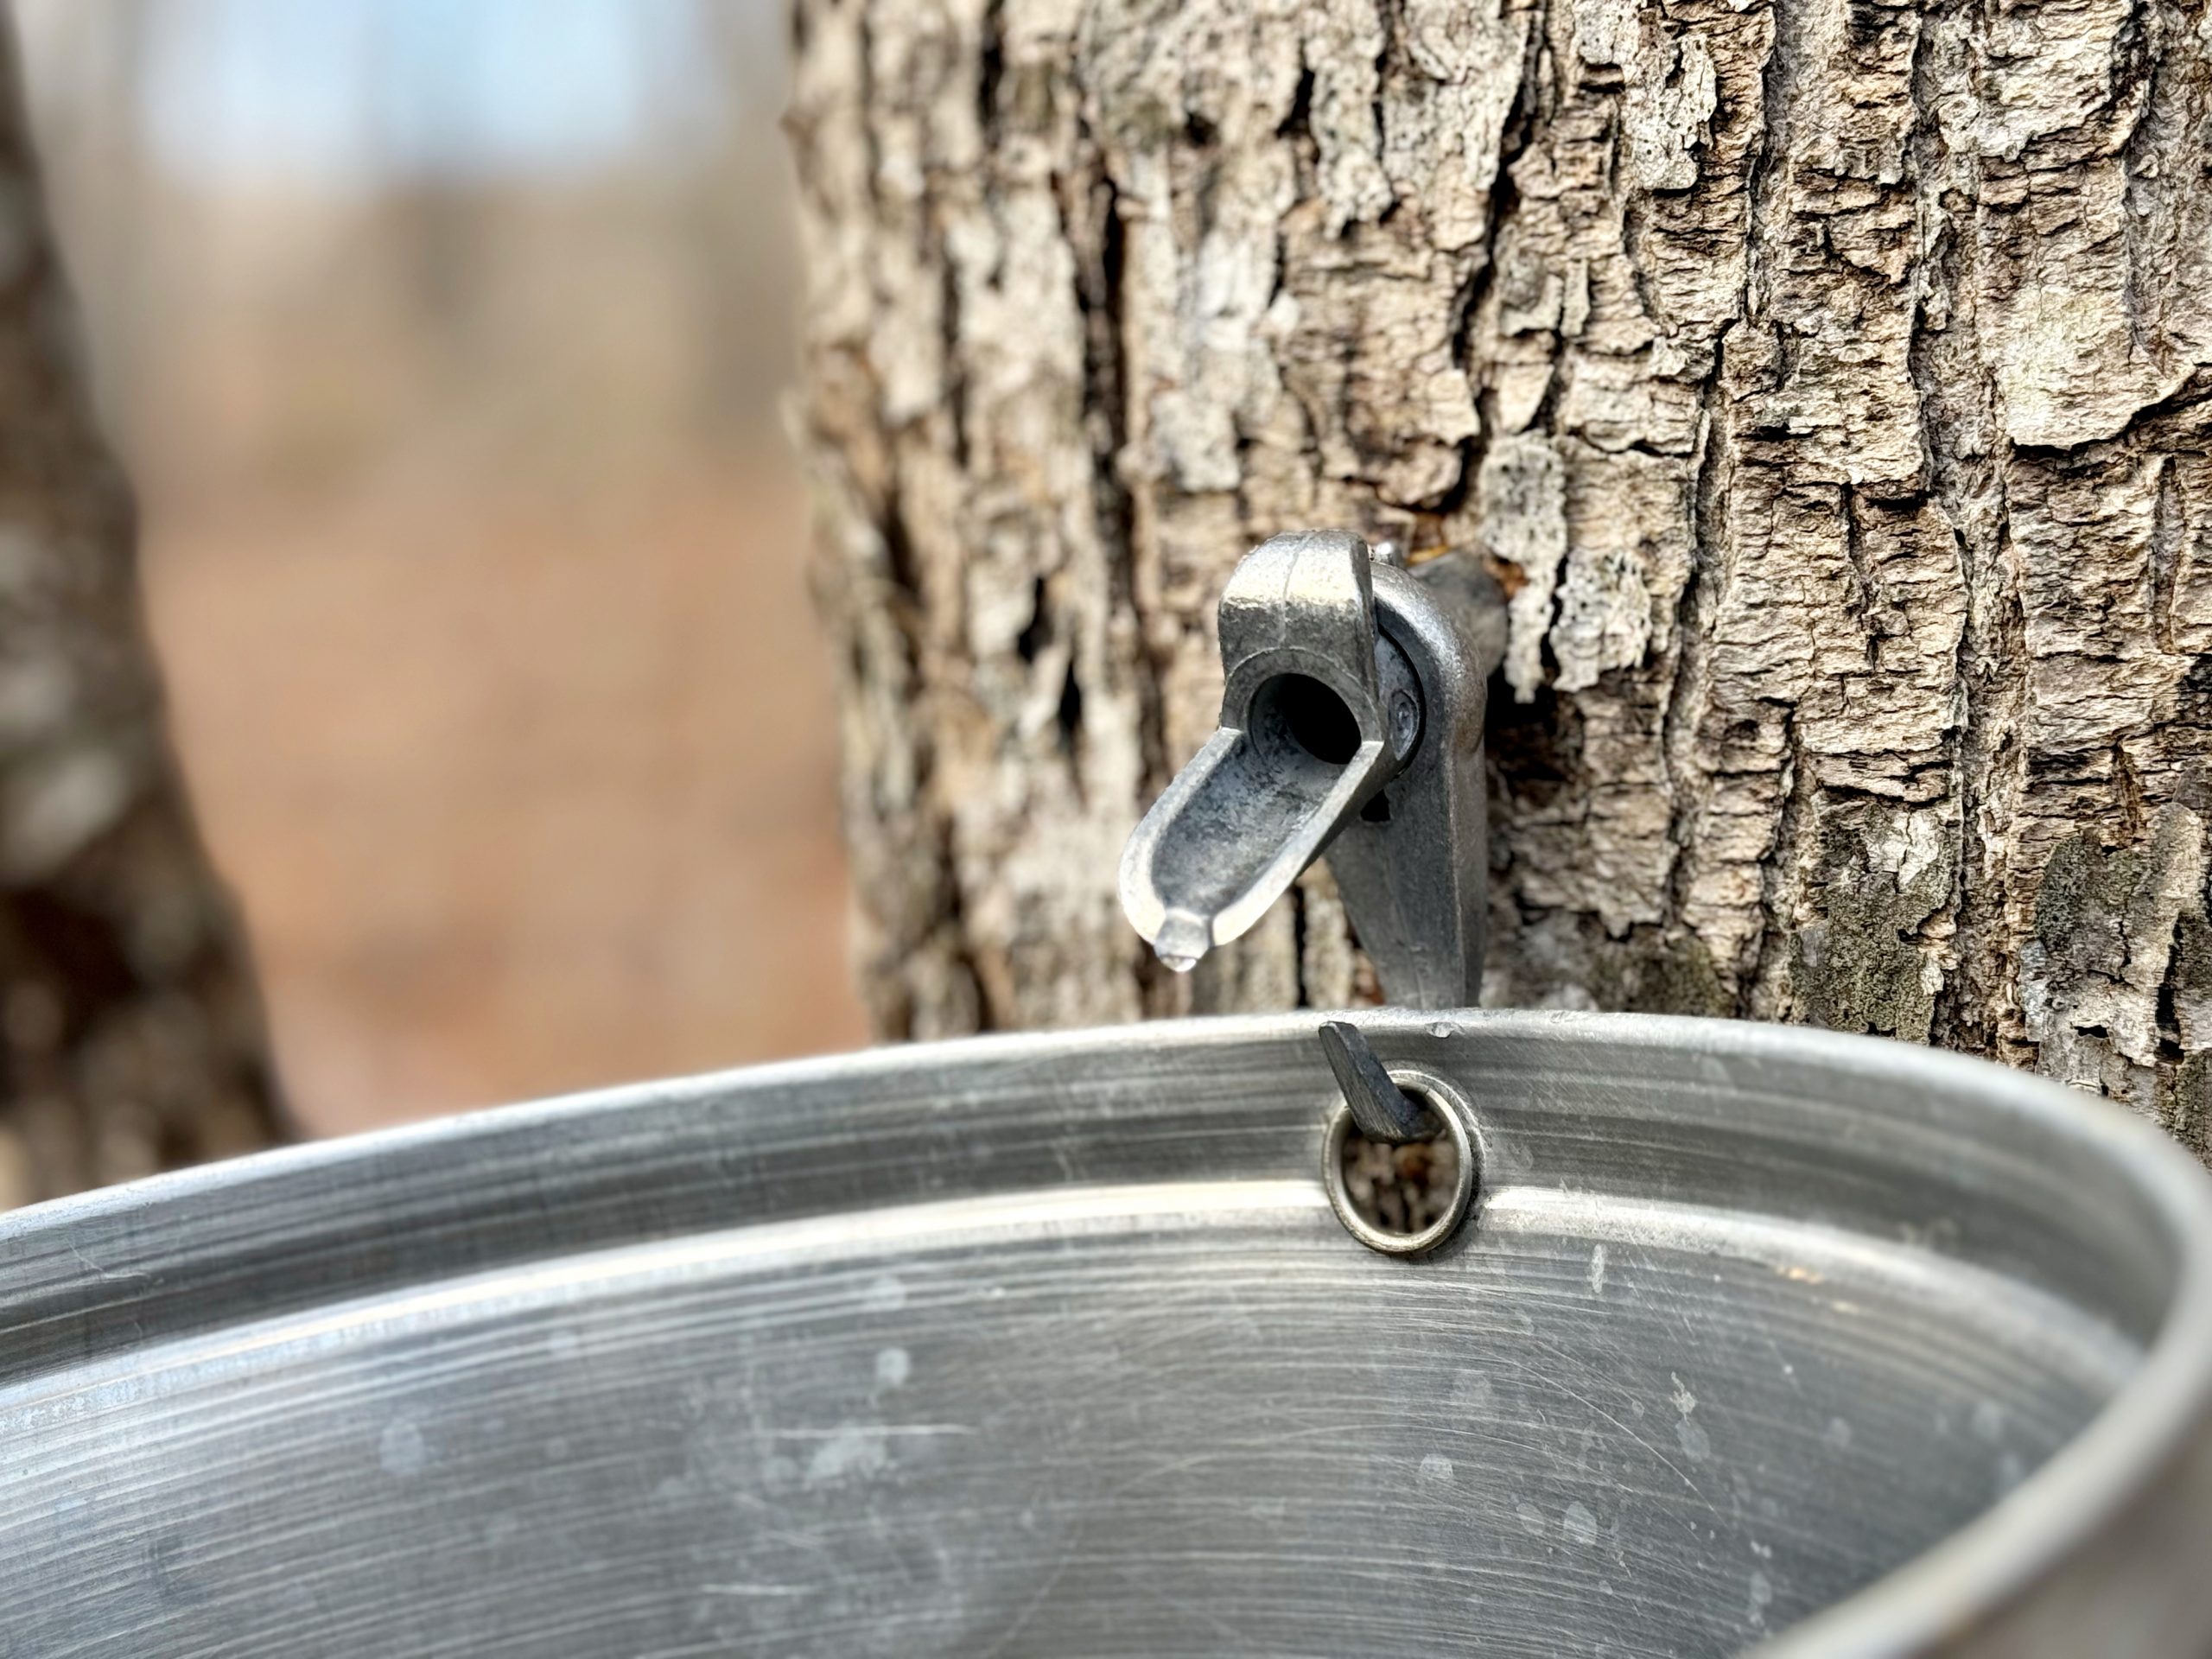
(sap starting to drip from a freshly tapped tree)
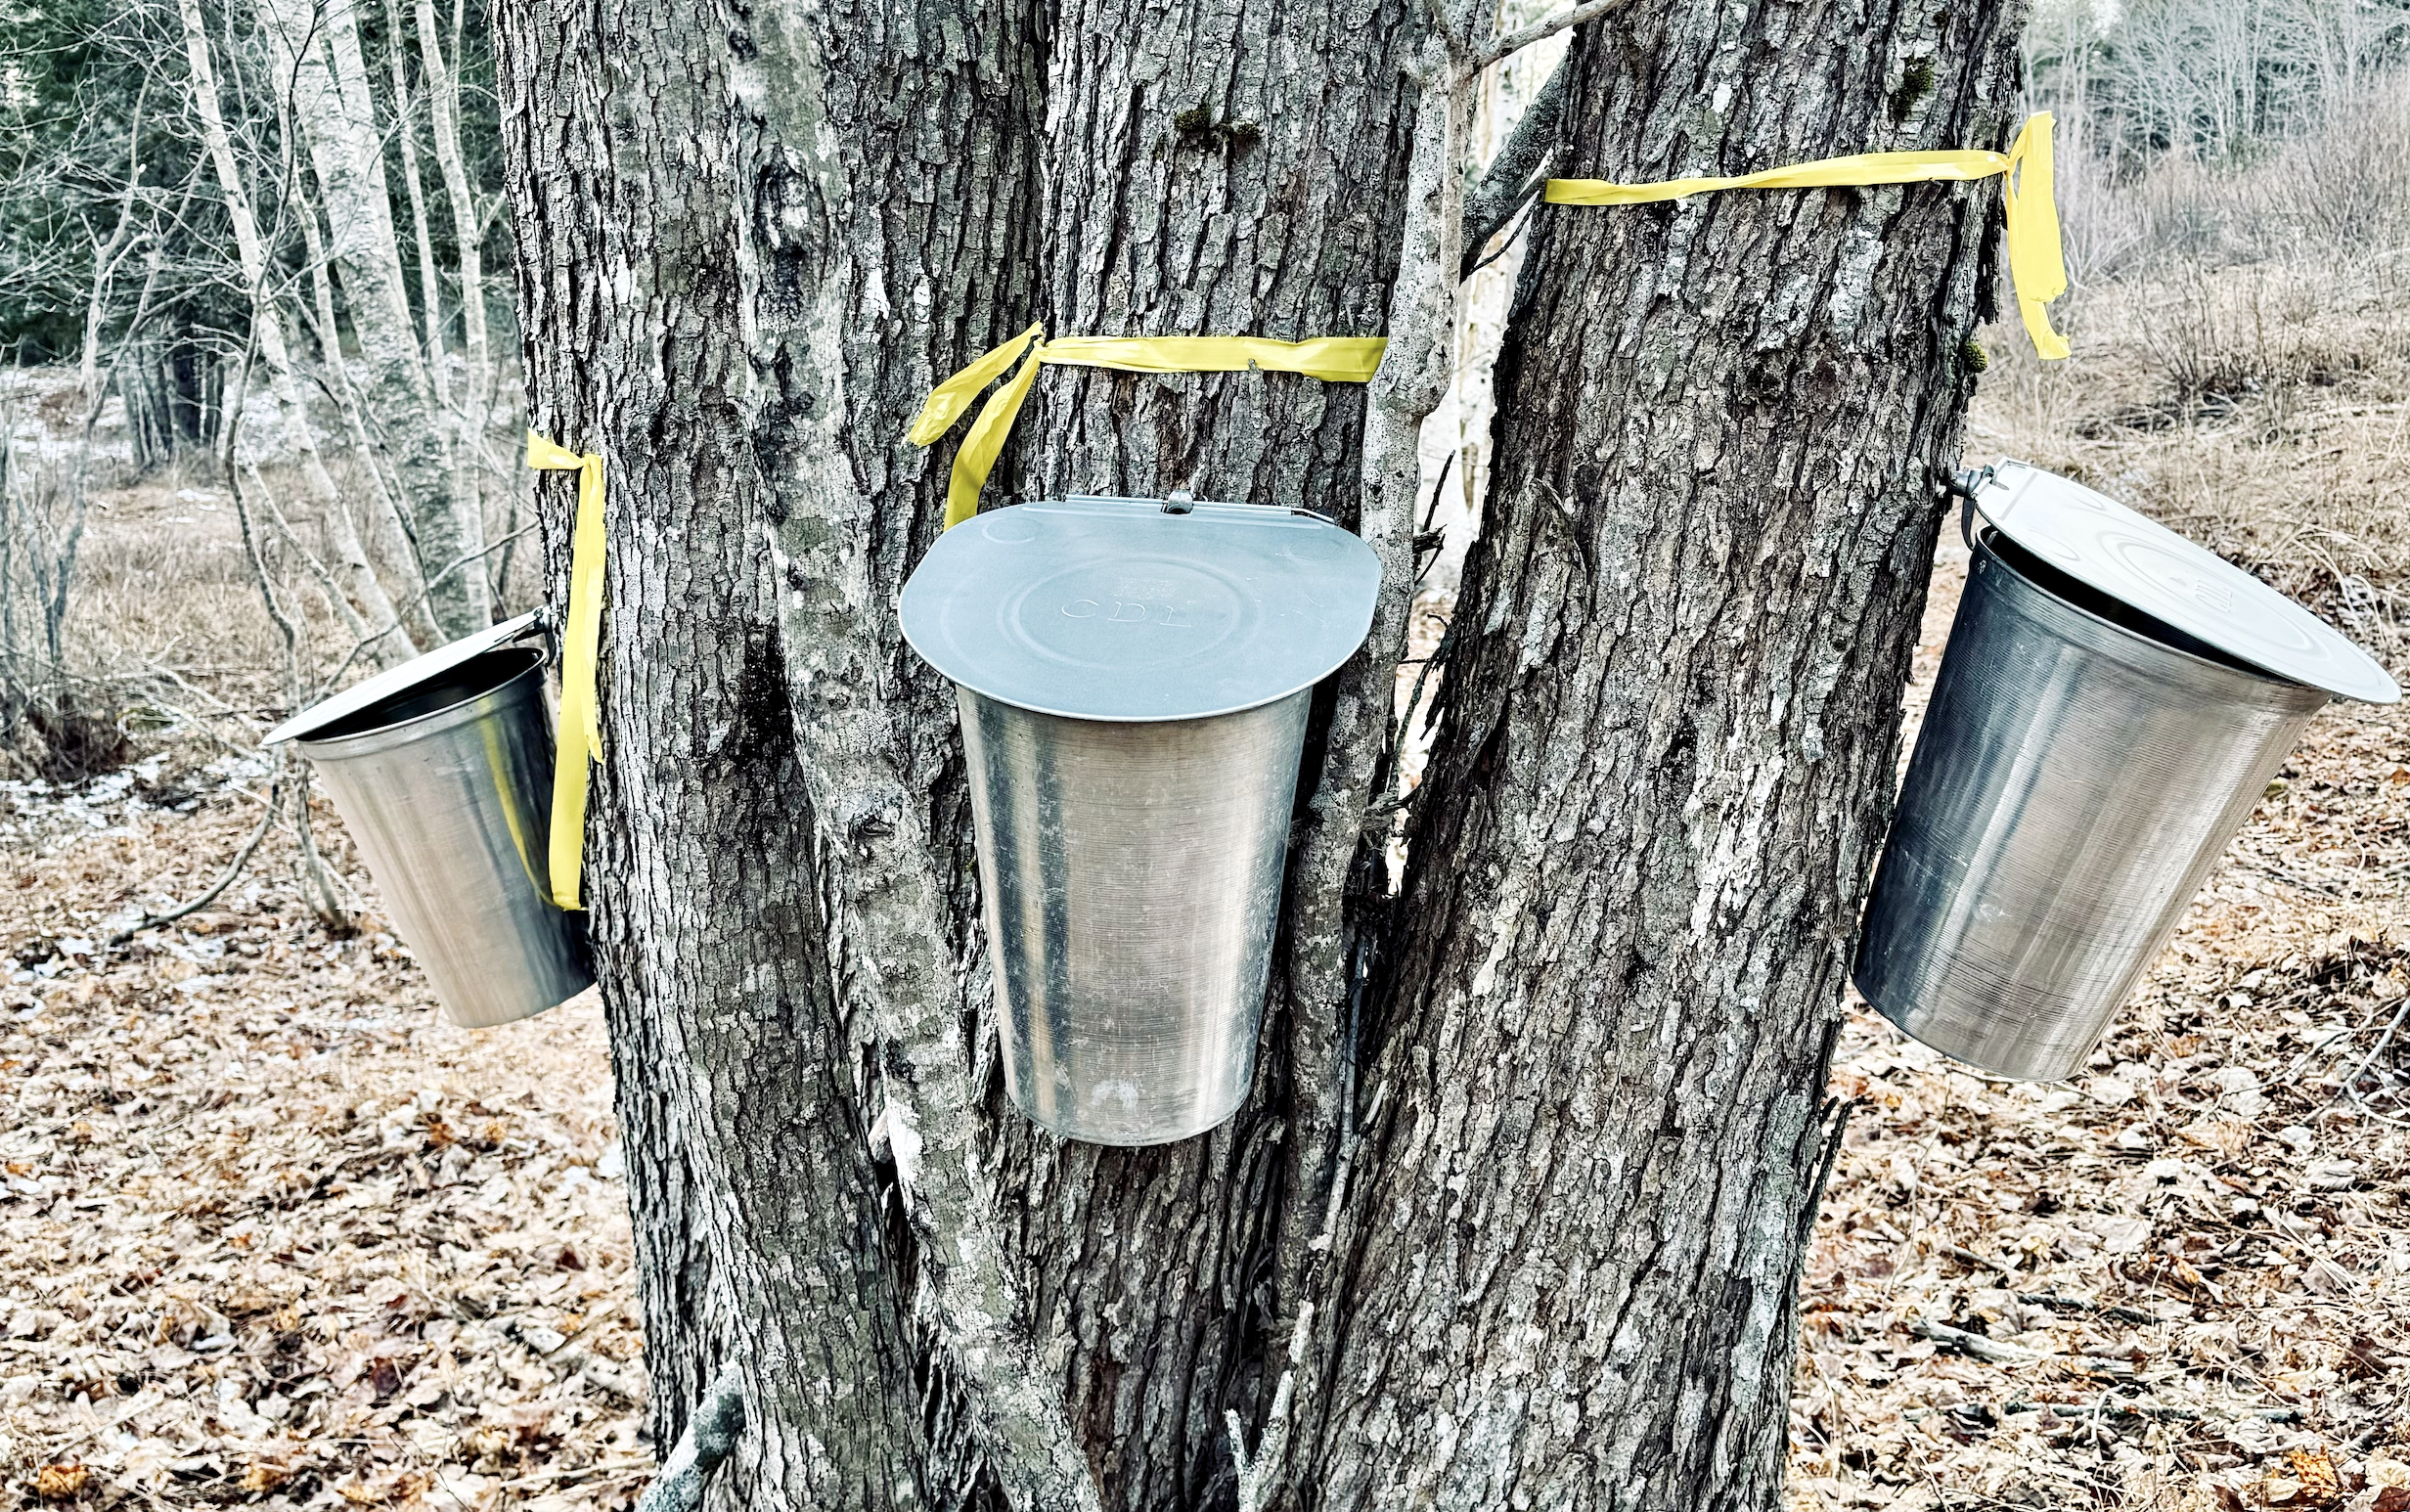
(One of out larger trees with 3 taps)
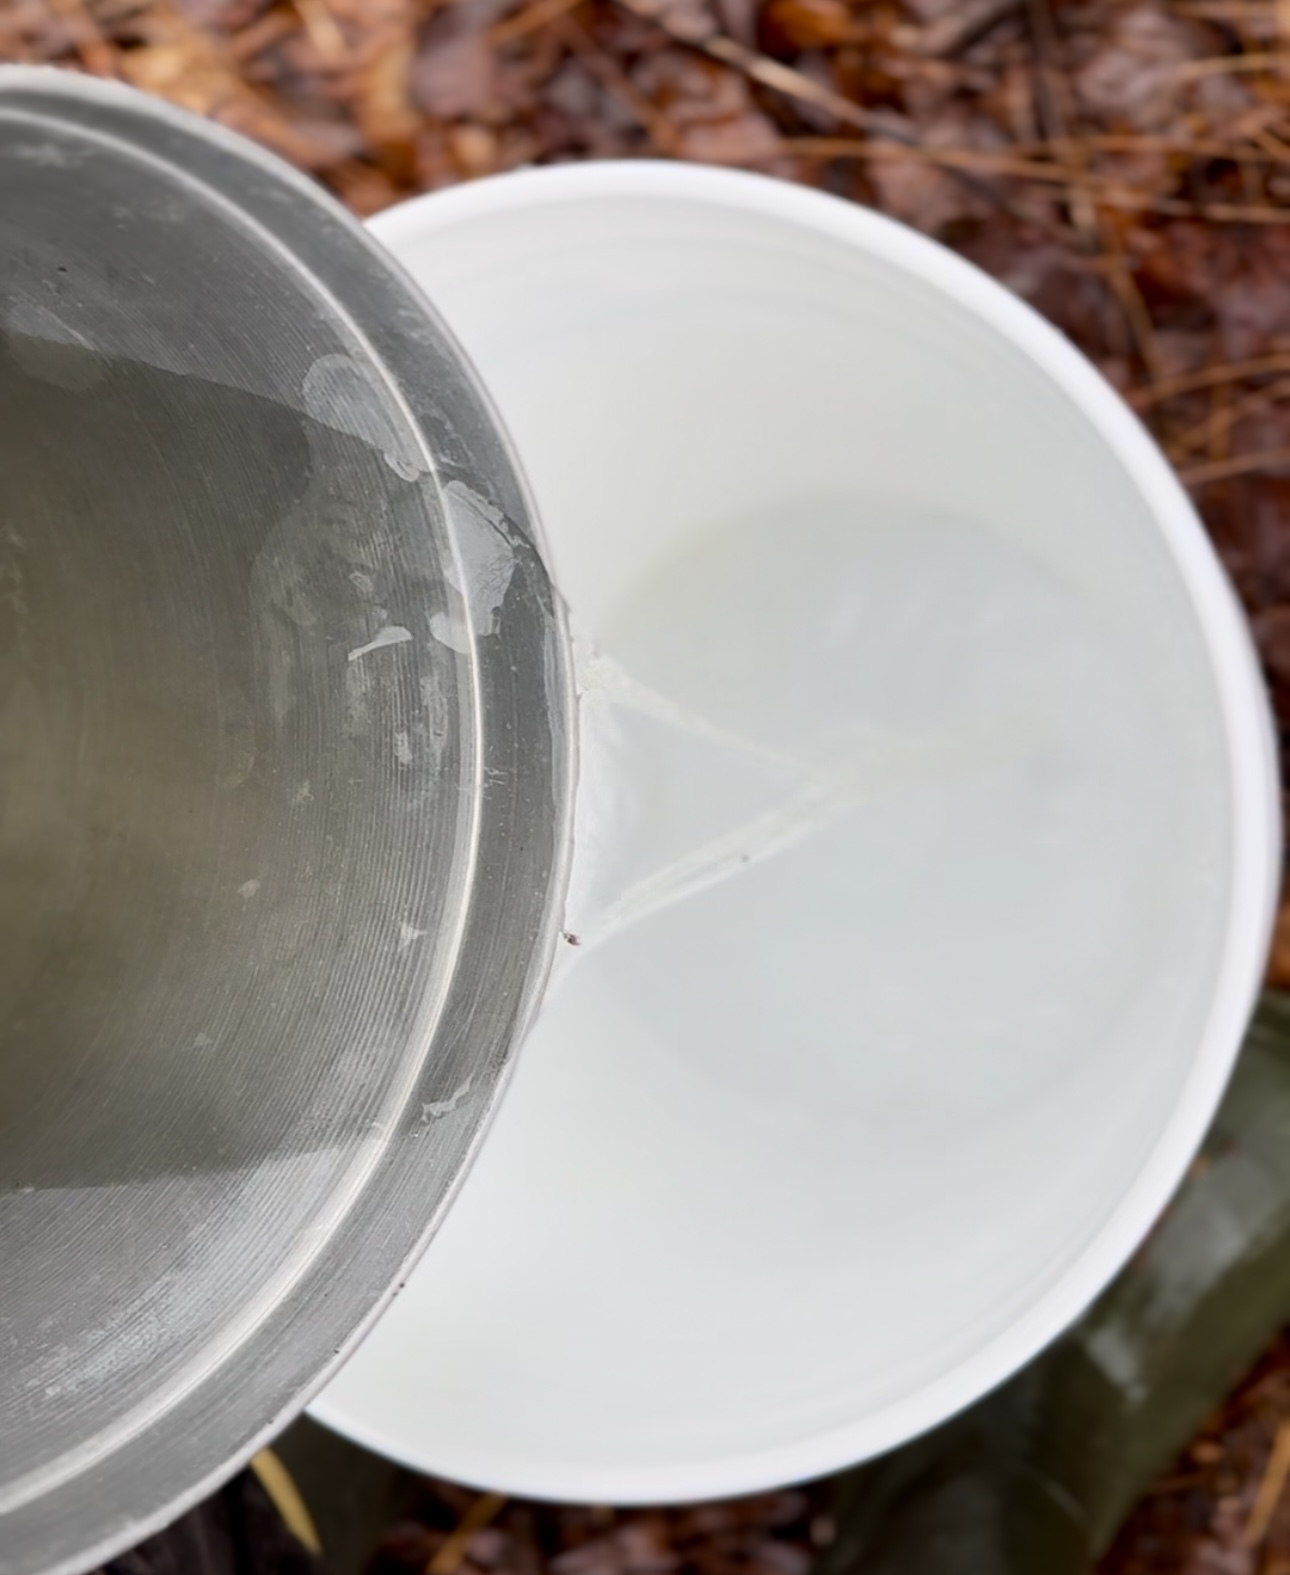
Collecting Sap
When collecting we dumped the contents of the buckets on the trees into food grade 5 gallon buckets. Most days we averaged 10 gallons but on our best days we could collect almost 30 gallons of sap, which was a lot to bring back up the hill to the house.
We would filter the sap (several times) once we got it back to the house and then store it until we were ready to boil it down. The sap has to stay cool so we kept it with a thermometer in our garage. Once we had enough sap we would start to boil it down to syrup. This year the season lasted a long time and we ended up with even more sap than we had time to boil.
(collecting sap from the buckets on the trees into our collection buckets)
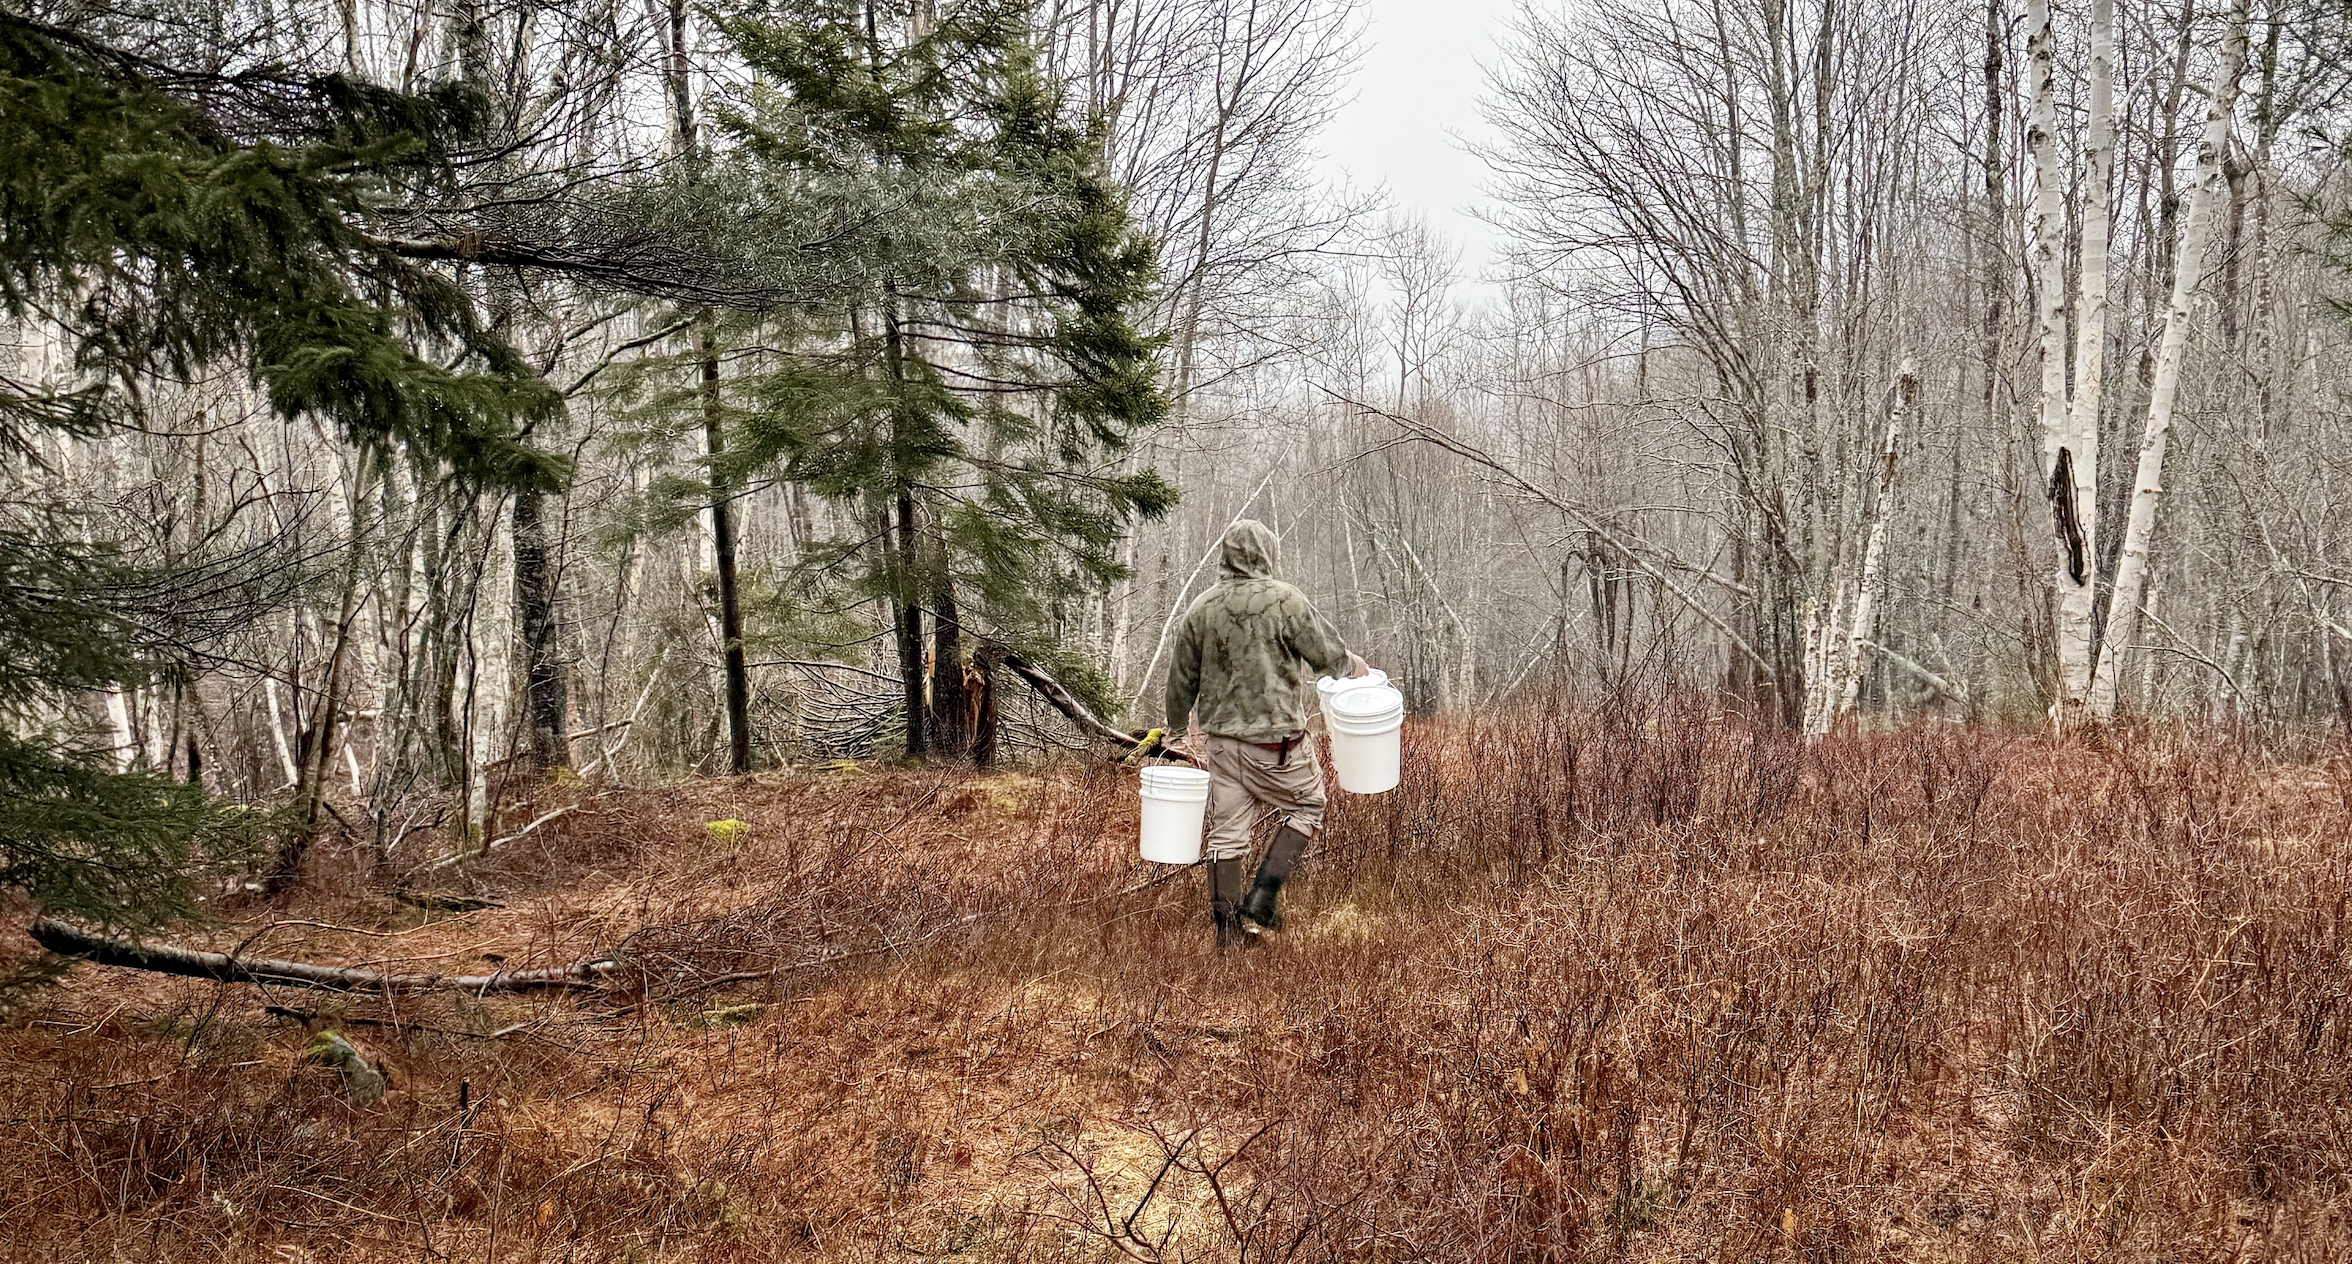
(Tucker carrying our collection buckets to gather sap)
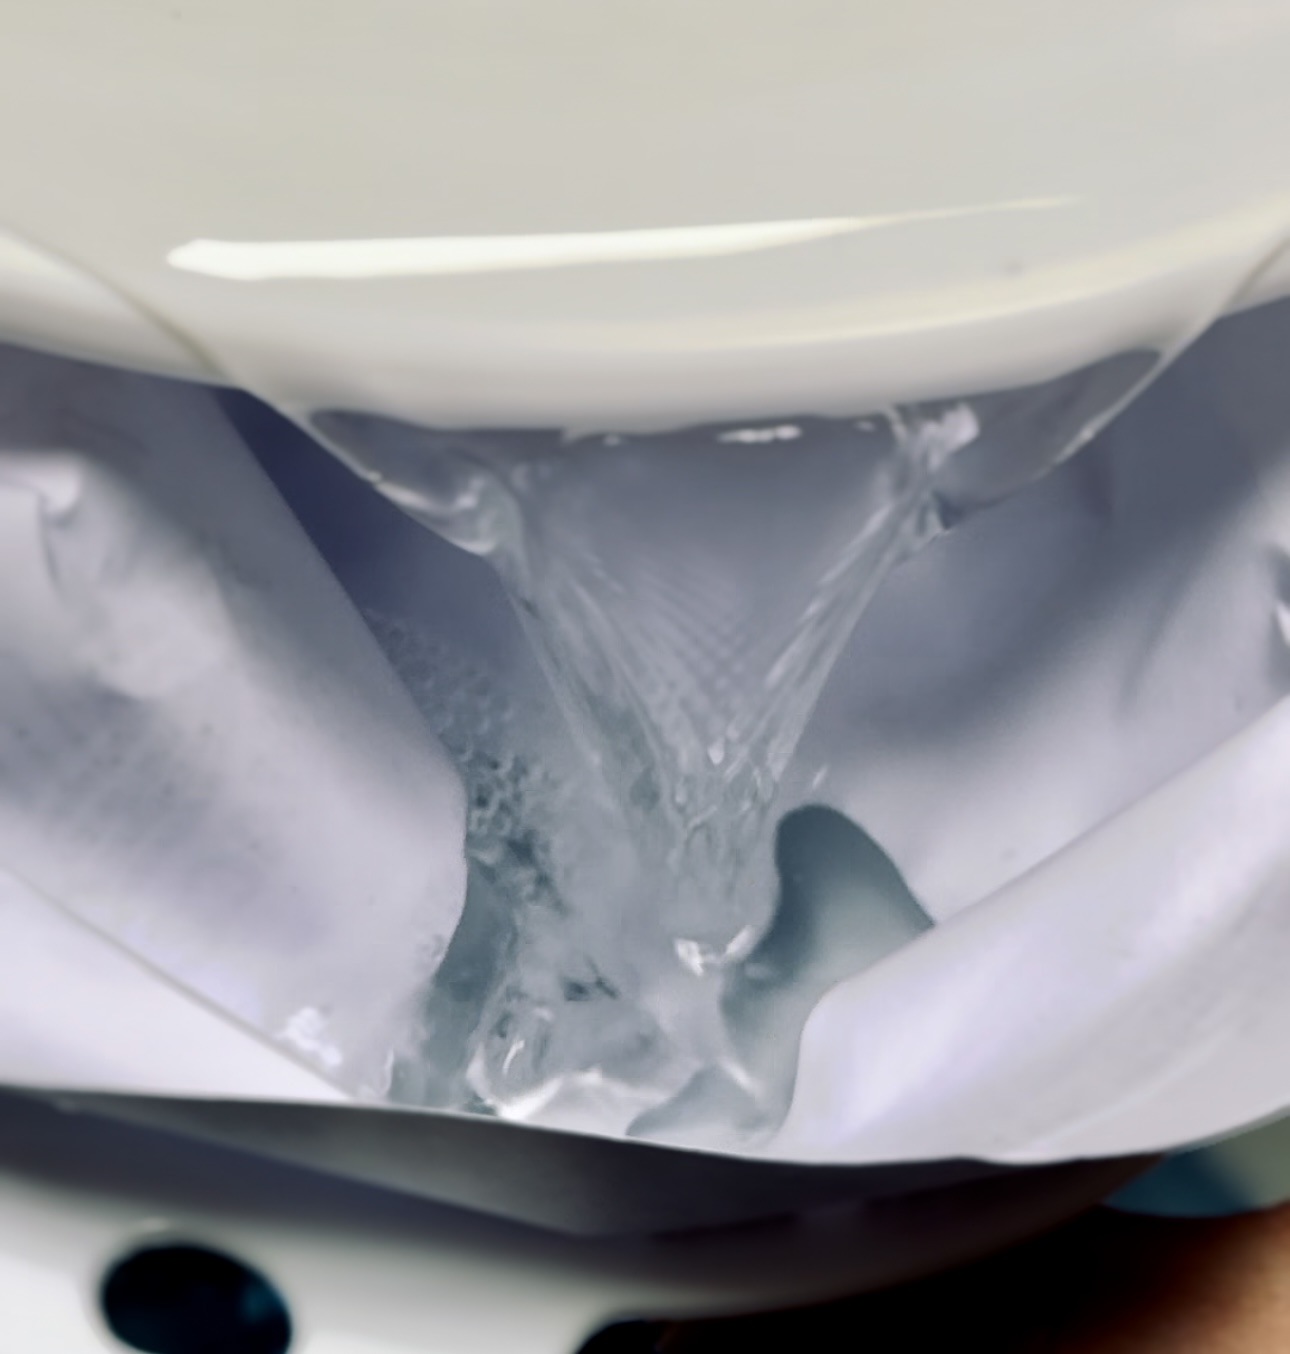
(filtering the collected sap)
Boiling The Sap
The boiling process can be slow because you have to boil down around 40 gallons of sap to get 1 gallon of maple syrup. Since this was our first year we did several small batches to give us more practice and to help us fine tune the process. The weather was also tricky this year, so a lot of the days we had free to burn were rainy so we just had to make the best of it. Next year we plan to build a sugar shack to help us be able to boil the sap regardless of the weather.
We would boil for hours on the arch (the barrel stove with a stainless steal pan) outside. We tried to keep it at a steady boil at around 212* F. This meant constantly feeding the fire to try and keep the sap hot so that the water would evaporate. You want to get as much of the water to evaporate as possible before finishing the syrup in the house. To get a gallon of syrup approximately 39 gallons of water will evaporate into the air so you can imagine how that would go in the house.
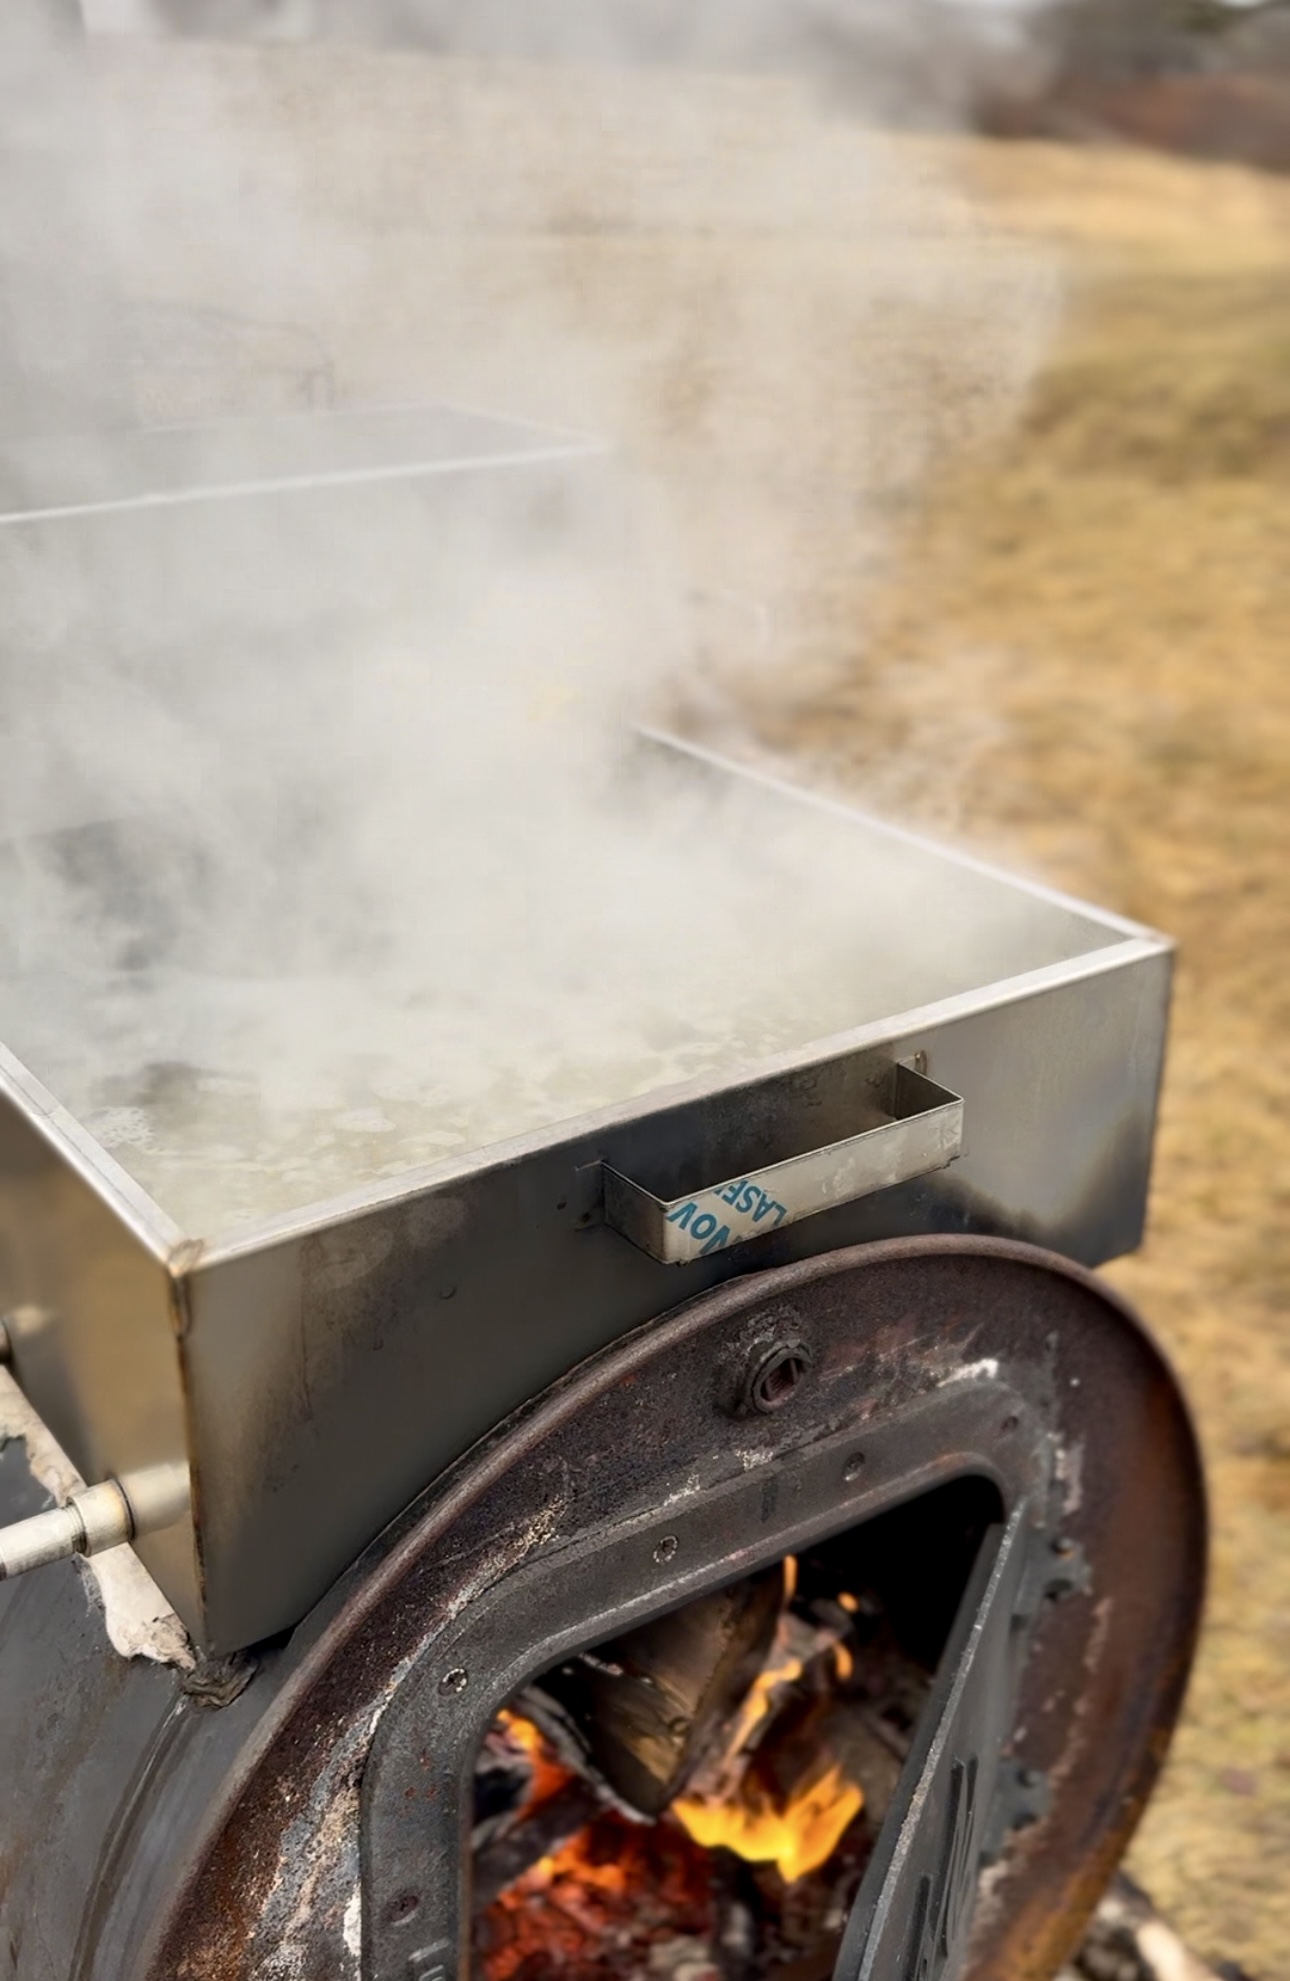
(Boiling sap on our arch)
(bringing our almost finished first batch to a boil on the stove inside)
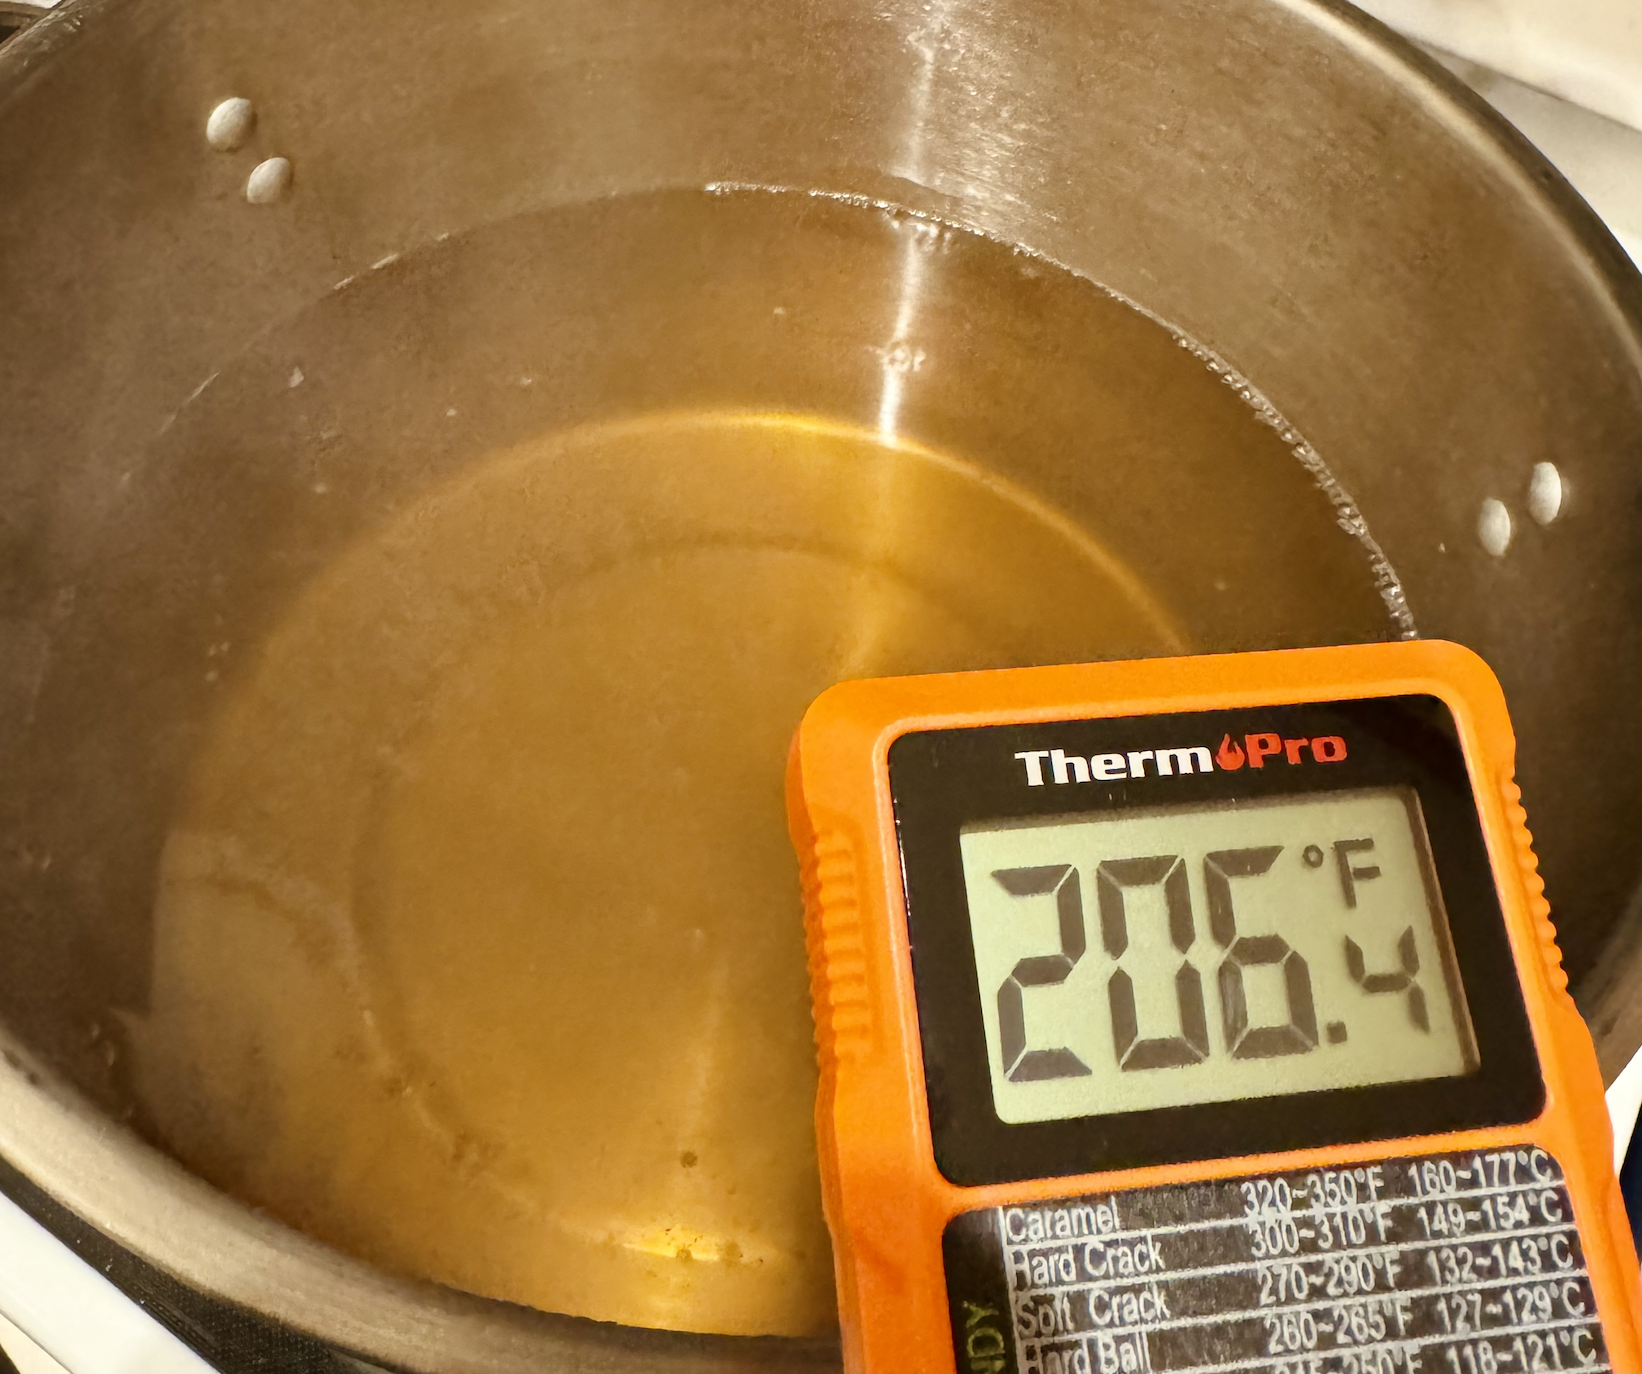
Once the sap is almost syrup and most of the water has evaporated we would transfer it from the pan on the barrel stove to a stainless steel pot and bring it inside to finish. The sap has to come to a roaring boil at around 219* – 221* F to thicken and become syrup. This can not happen until the water content is low enough because water cannot caramelize or go above a boil. This could take a few hours once inside on the stove. We also finished a few batches outside on a turkey fryer. Waiting for the syrup to come up to the right temperature was typically a late night activity. Its important not to fall asleep during this stage (which can be easy to do when you are still waiting at 2:00am) because you can burn the syrup if it gets to hot. Once the temperature rises it can rise quickly. We used a candy thermometer to keep track of the temperature.
The Canning Process
While the sap finished we prepped our jars for canning the syrup. I washed the new canning lids in soap and warm water and sanitized the jars using the sanitize feature on my dishwasher. Boiling them would work as well. Once the finished sap reached the desired temperature and became syrup. we would let it cool for several hours or over night. To can we would put the syrup back on the stove and bring the temperature up to 180*-190* to can. We would pour the syrup through a fine filter into the prepared jars, cover, and tip upside down for 5 or so minutes to seal. Once they sat upside down for five minutes we rolled them around coat the rim in the syrup.
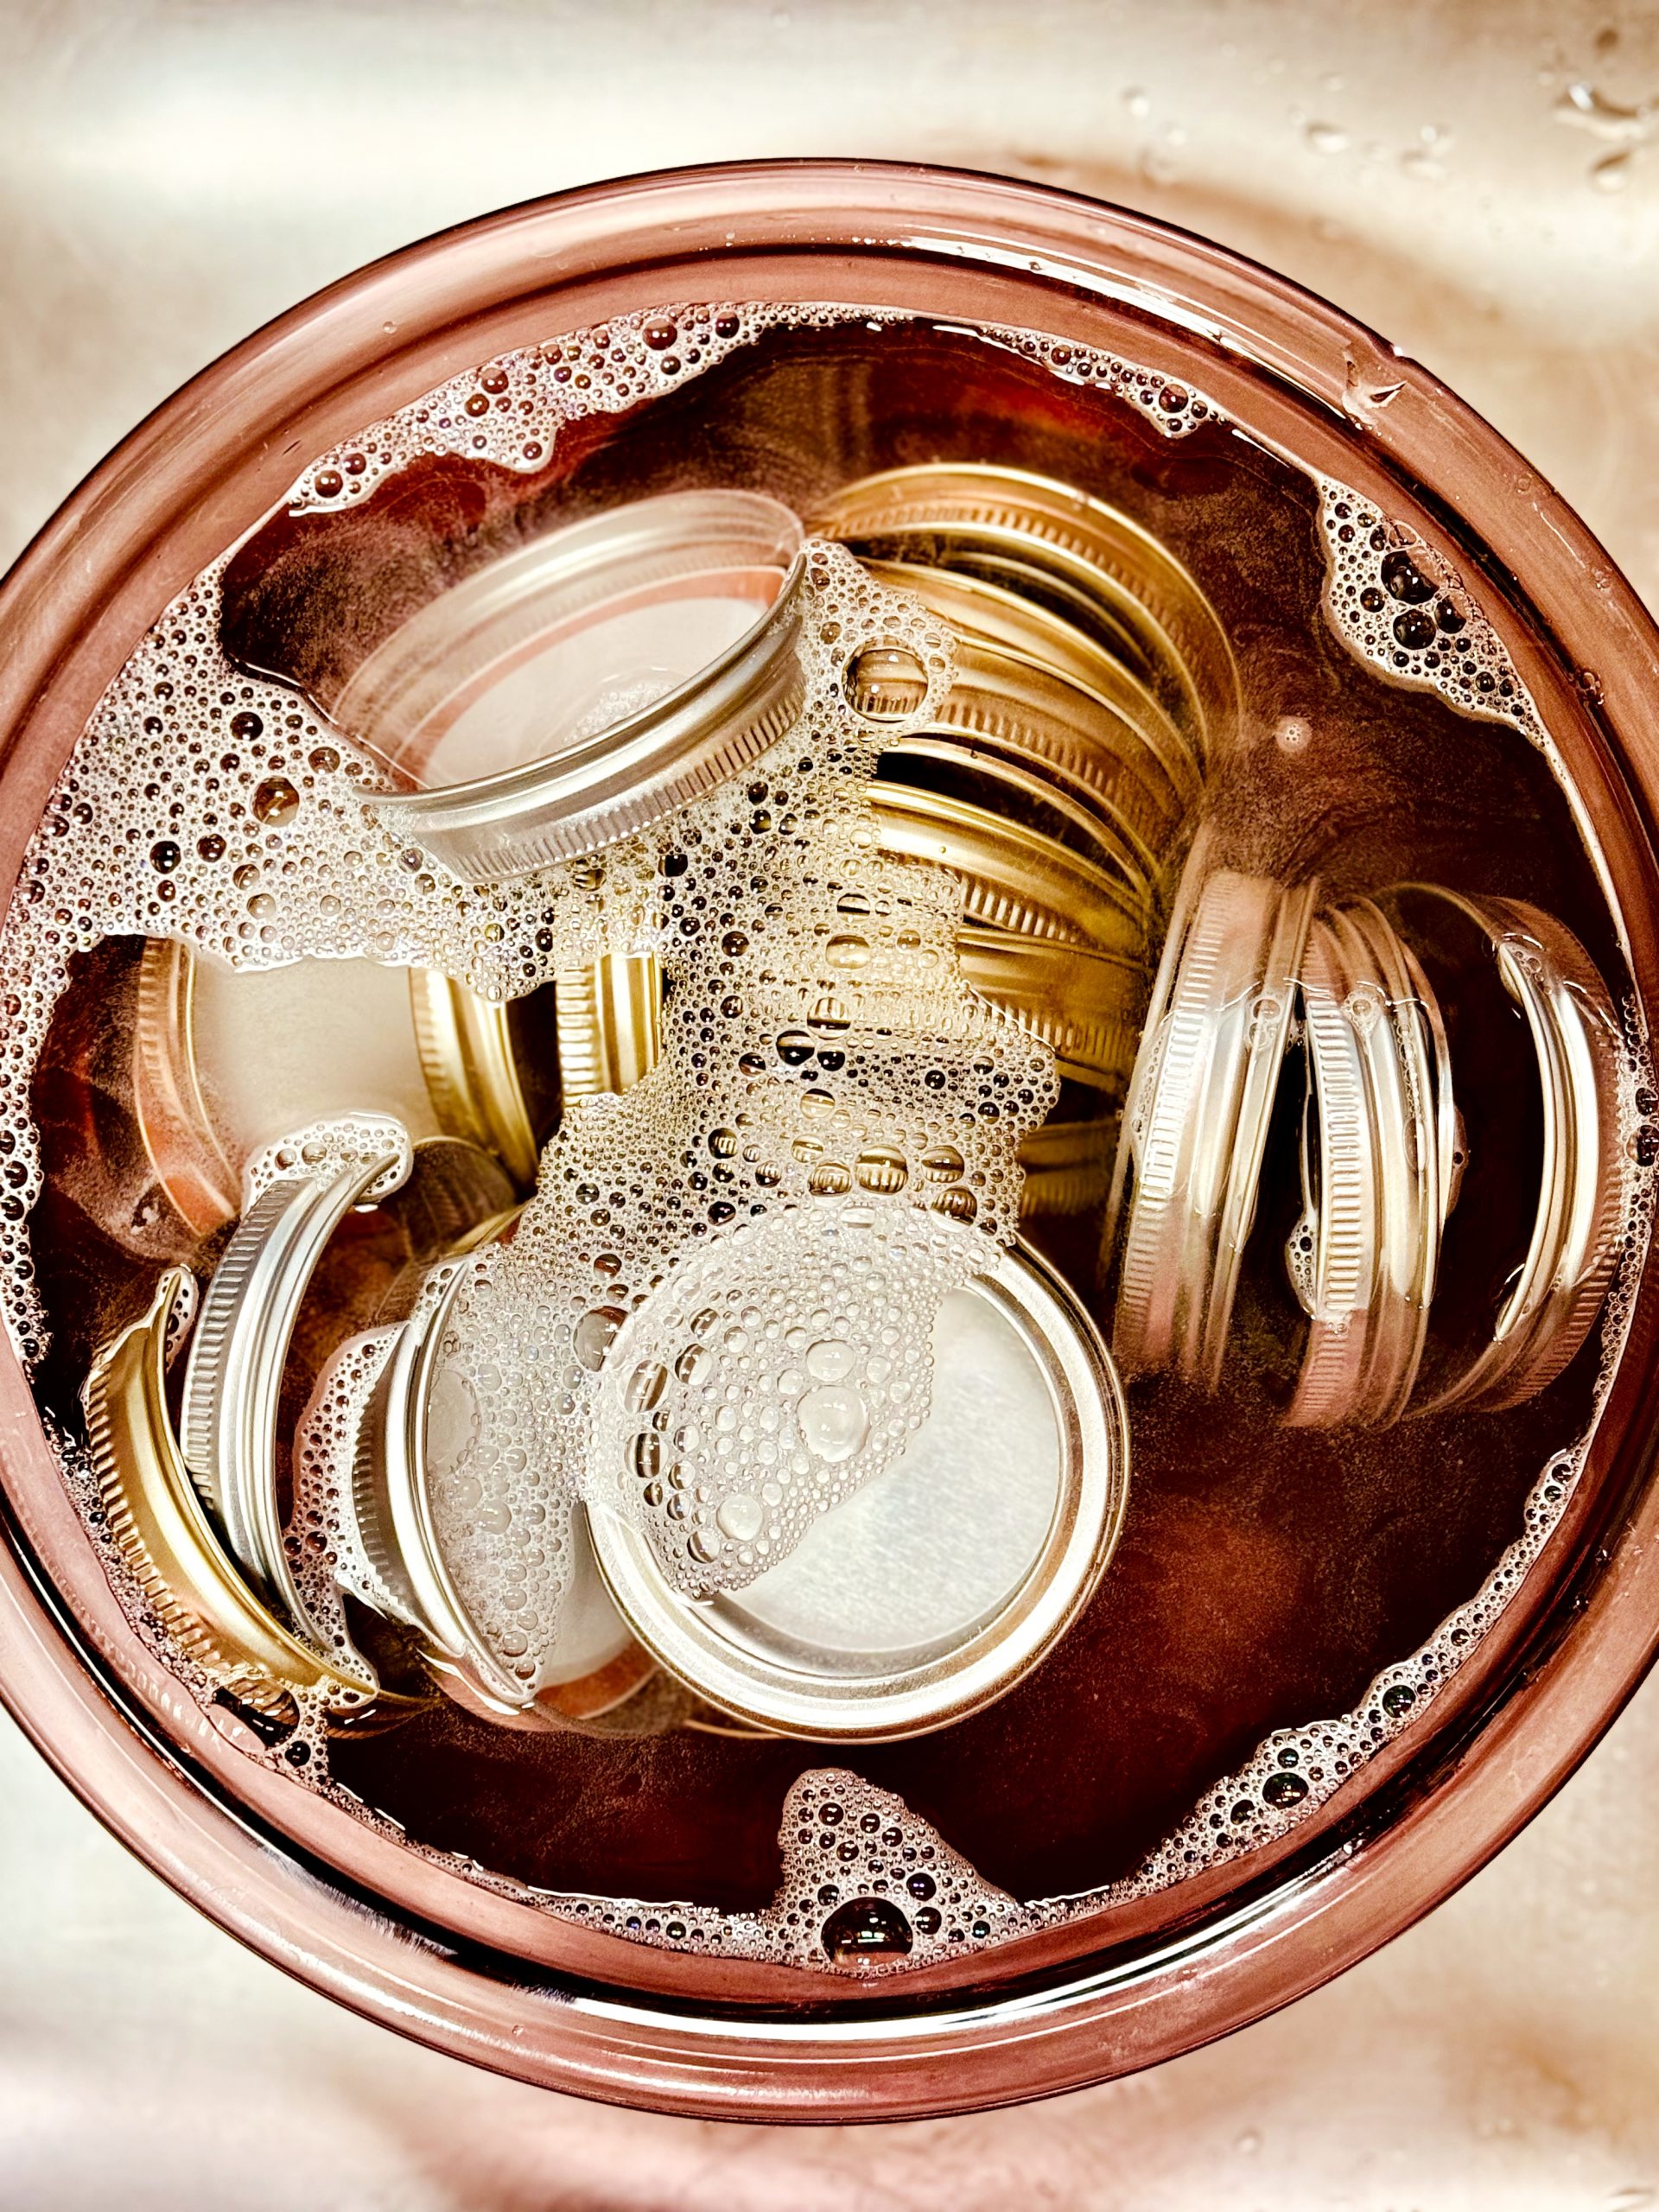
(new canning lids in soapy water)
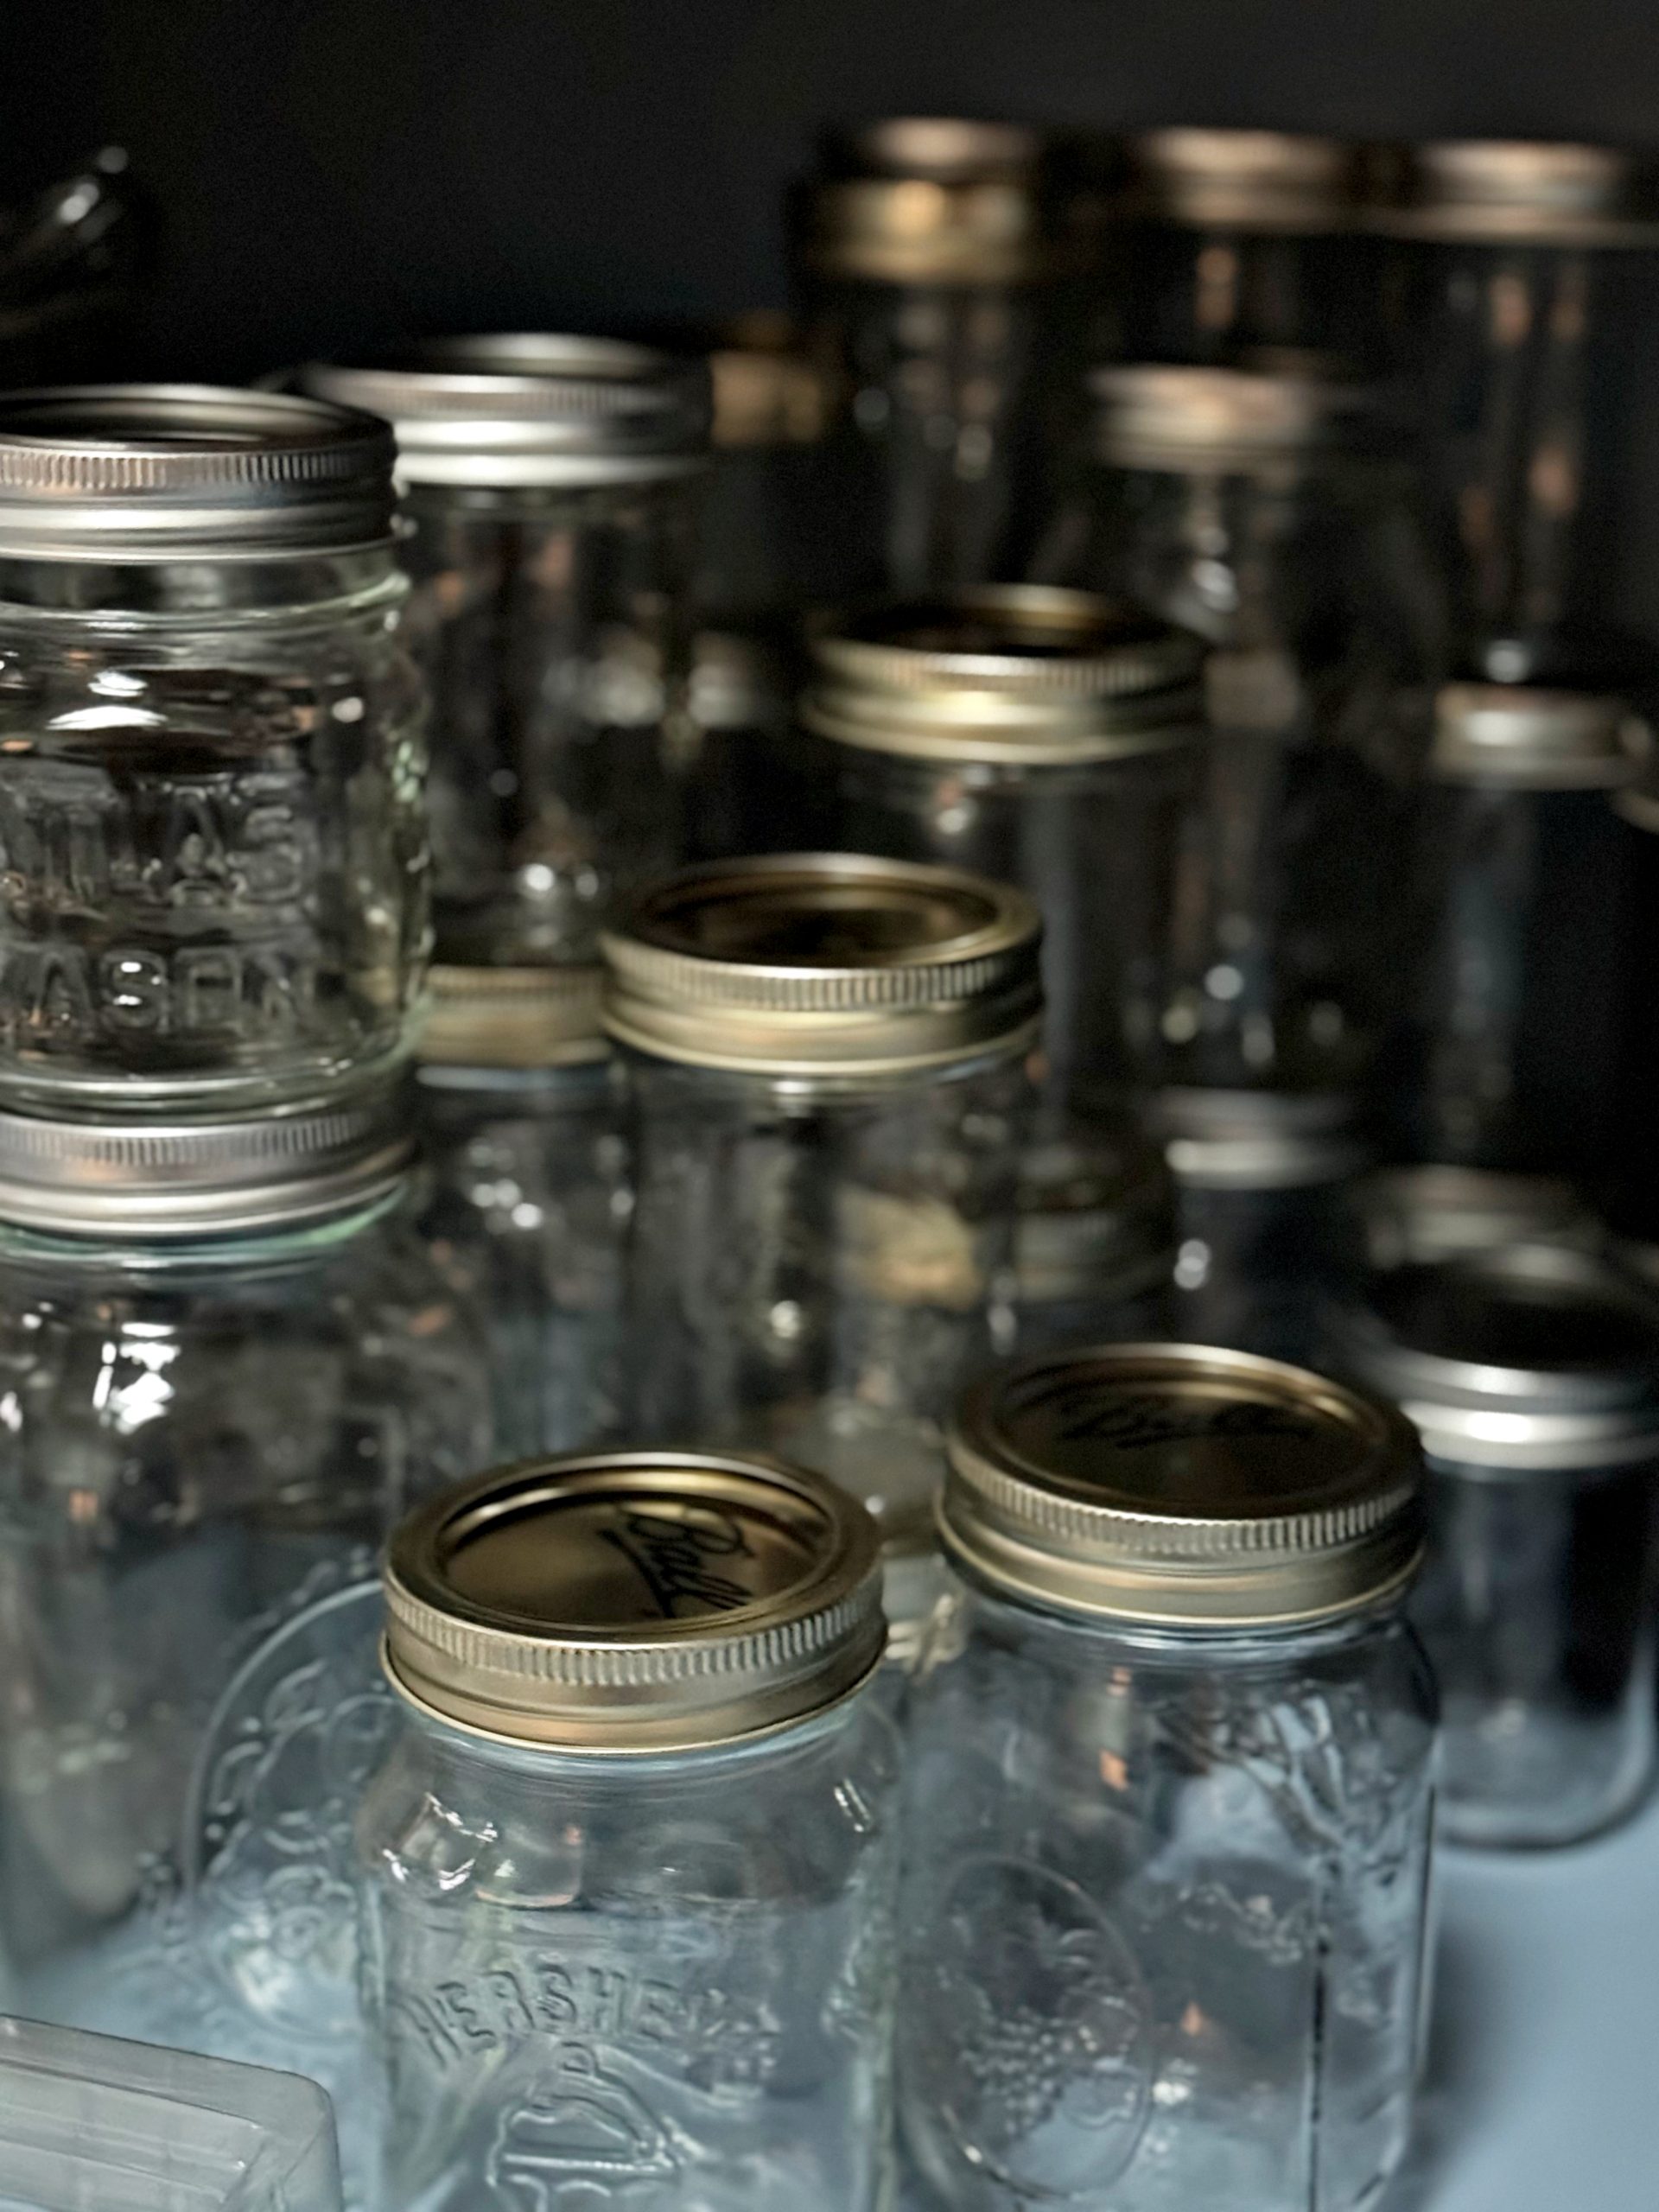
(prepared jars, ready for canning)
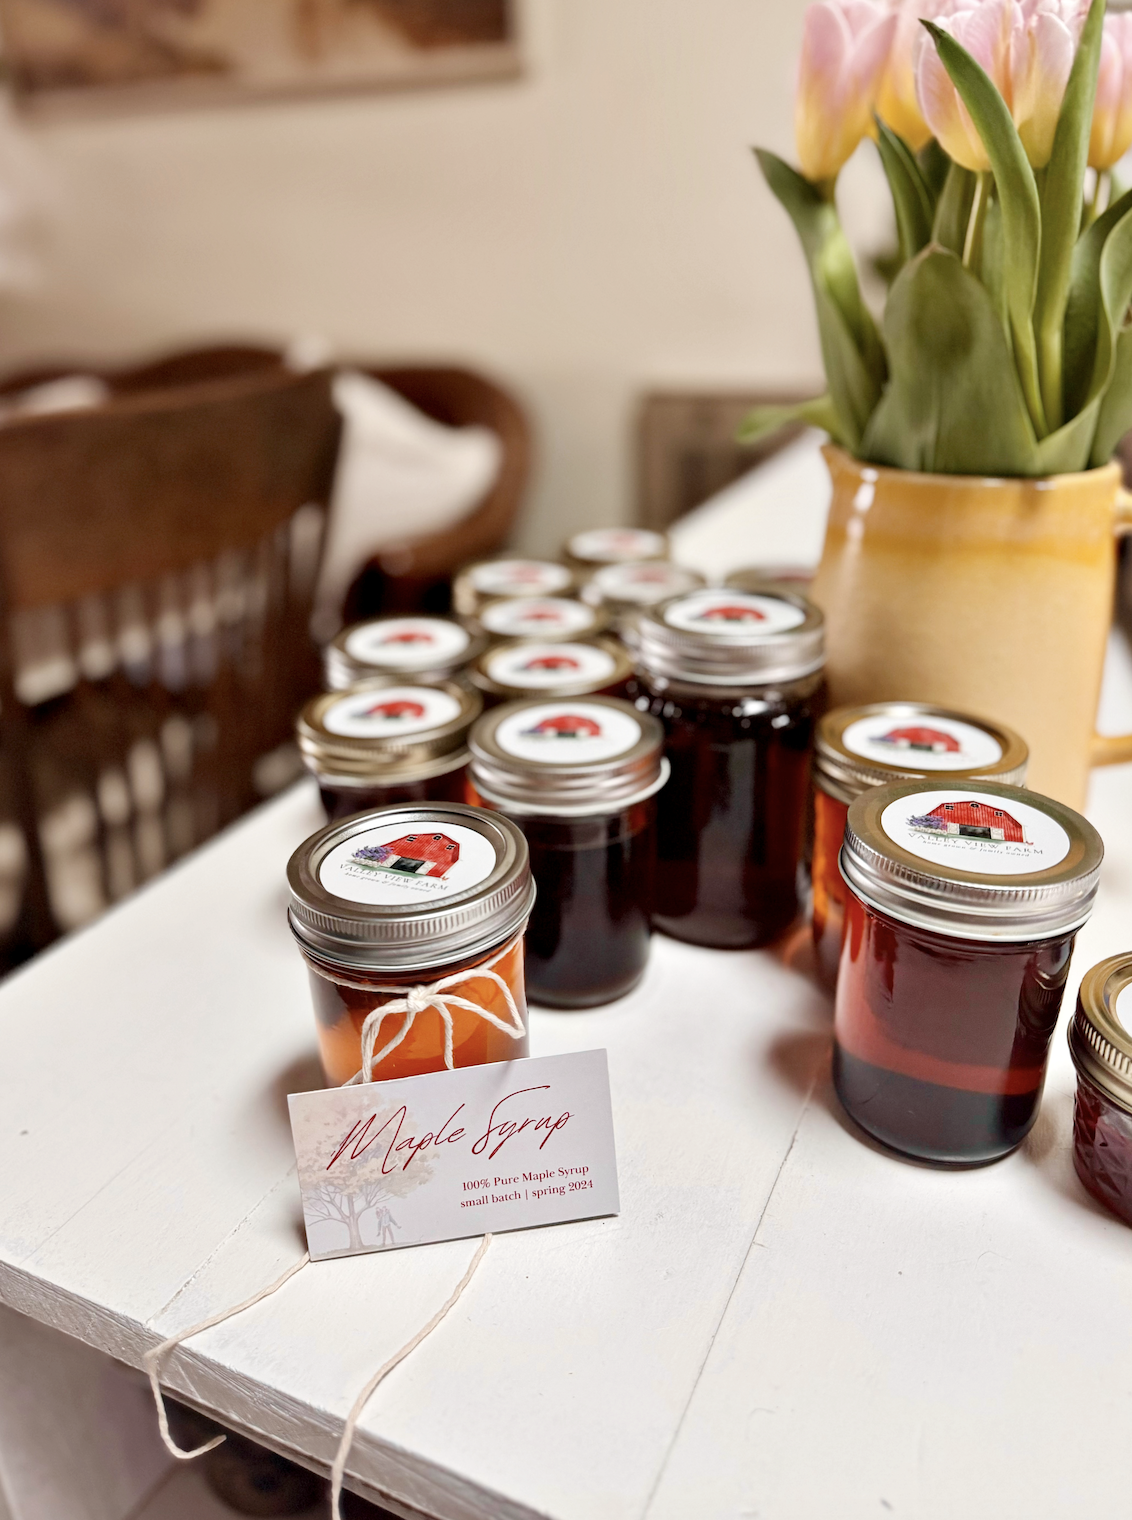
(our finished syrup, canned with our farm labels)
We are pleased with our first season making maple syrup and we are excited for next year when we can apply everything we learned this year! Until then we are excited for years worth of pancake and waffle breakfasts with our very own maple syrup! Stay tuned for some recipes involving maple syrup as we use what we have made!


